Accounts Module Overview
The Accounts Module in Exsited is designed to manage all customer-related information in one centralised place. It supports the creation, editing, and organisation of customer accounts, enabling efficient order processing, billing, reporting, and communication.
This module ensures seamless integration with the sales, invoicing, and inventory modules, providing a complete customer management solution from onboarding to ongoing interaction.
Purpose
The purpose of this module is to:
- Maintain a complete database of customer accounts
- Track account-specific details such as orders, billing info, and regional data
- Enable account segmentation and grouping (e.g., by region, manager, type)
- Support automated workflows across accounting, ordering, and inventory systems
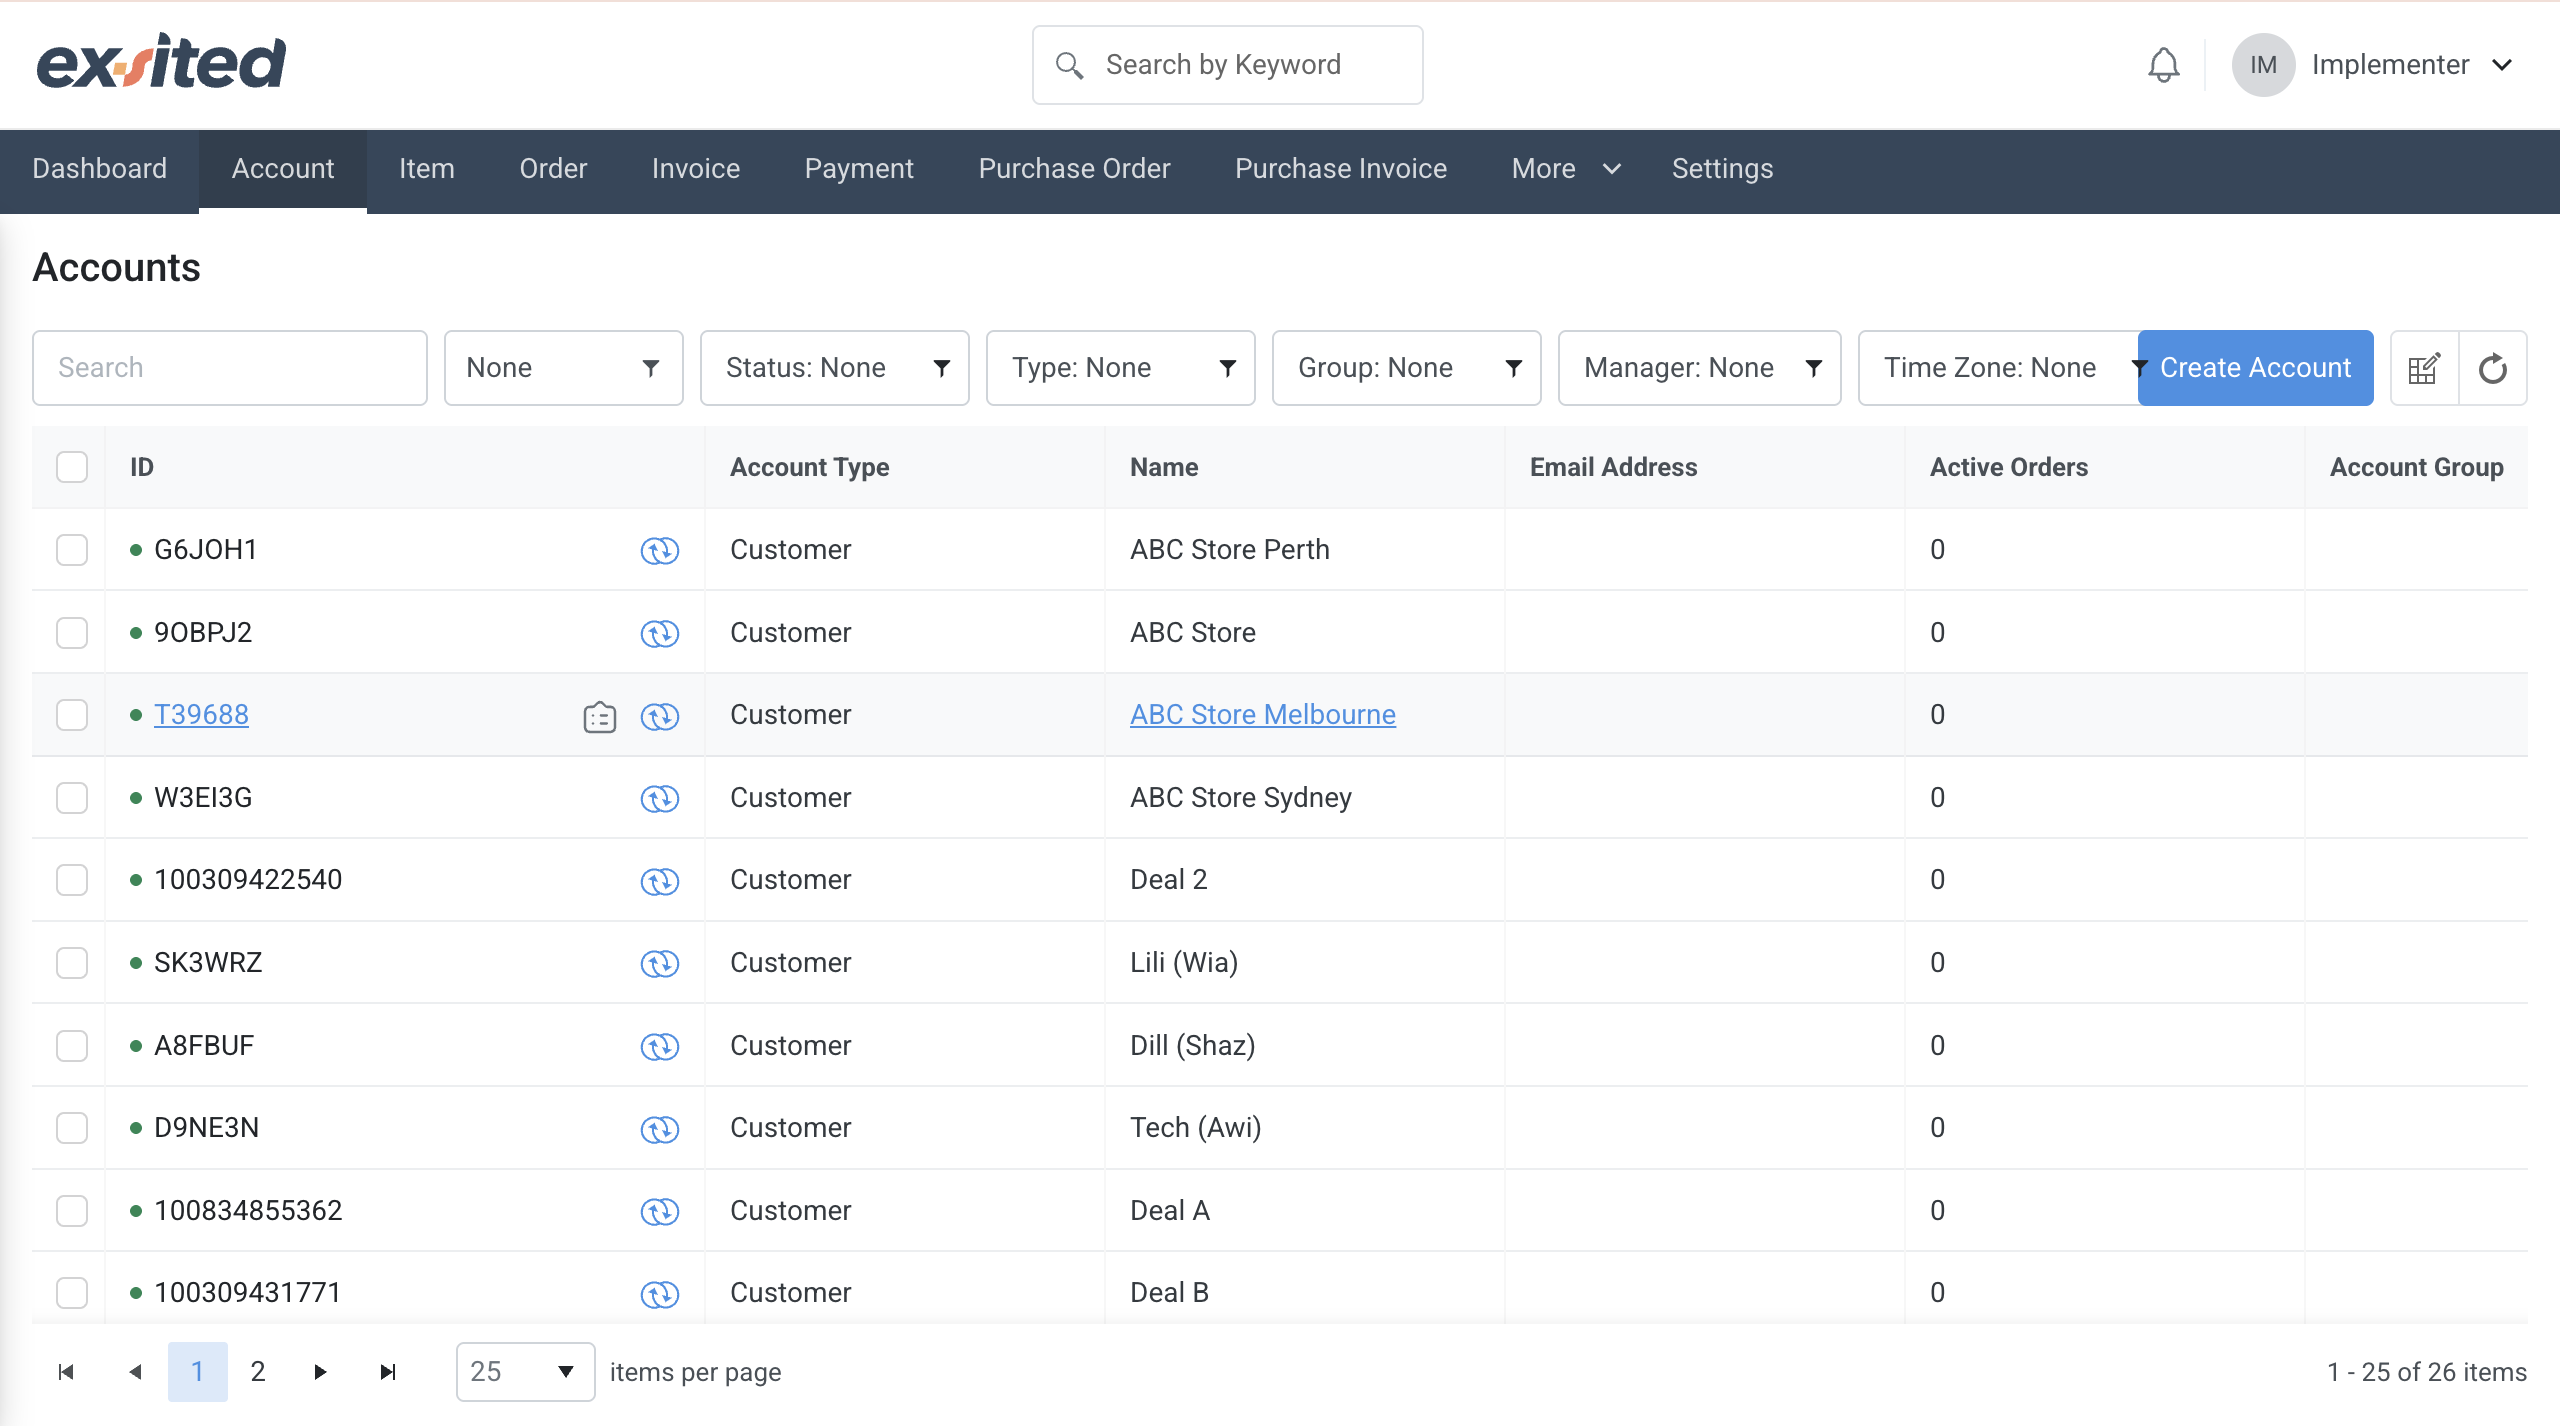
How to Access the Accounts Module
- Navigate to the top menu and click Account.
- You will be directed to the main Accounts list page, displaying all existing accounts.
- Click on Create Account to begin adding a new customer.
Create a New Account – Step-by-Step Guide
Navigate to "Create Account"
Click on Account > Create Account from the top navigation.
Left Panel > Basic Account Identity - Fill in Account Details:
| Field | Description |
|---|---|
| Account Name (Image Placeholder) | Optional image upload for visual identification |
| ID | System-generated (checked by default) |
| Type | Select from: Customer, Supplier, etc. (Default: Customer) |
Middle Panel> Account Information:
| Field | Description |
|---|---|
| Name | Official name of the customer account (Required) |
| Display Name | Alternative or shortened name |
| Description | Optional description of the account |
| Parent Account | Used for linking sub-accounts to a main account |
| Email Address | Main email contact for the account |
Right Panel > Contact Information (Billing Contact Tab) :
| Field | Description |
|---|---|
| Salutation / Designation | Select titles and position of the billing contact |
| First Name / Last Name | Contact person’s details |
| Middle Name | Optional |
| Email Address | Email of the billing contact (optional tick to receive emails) |
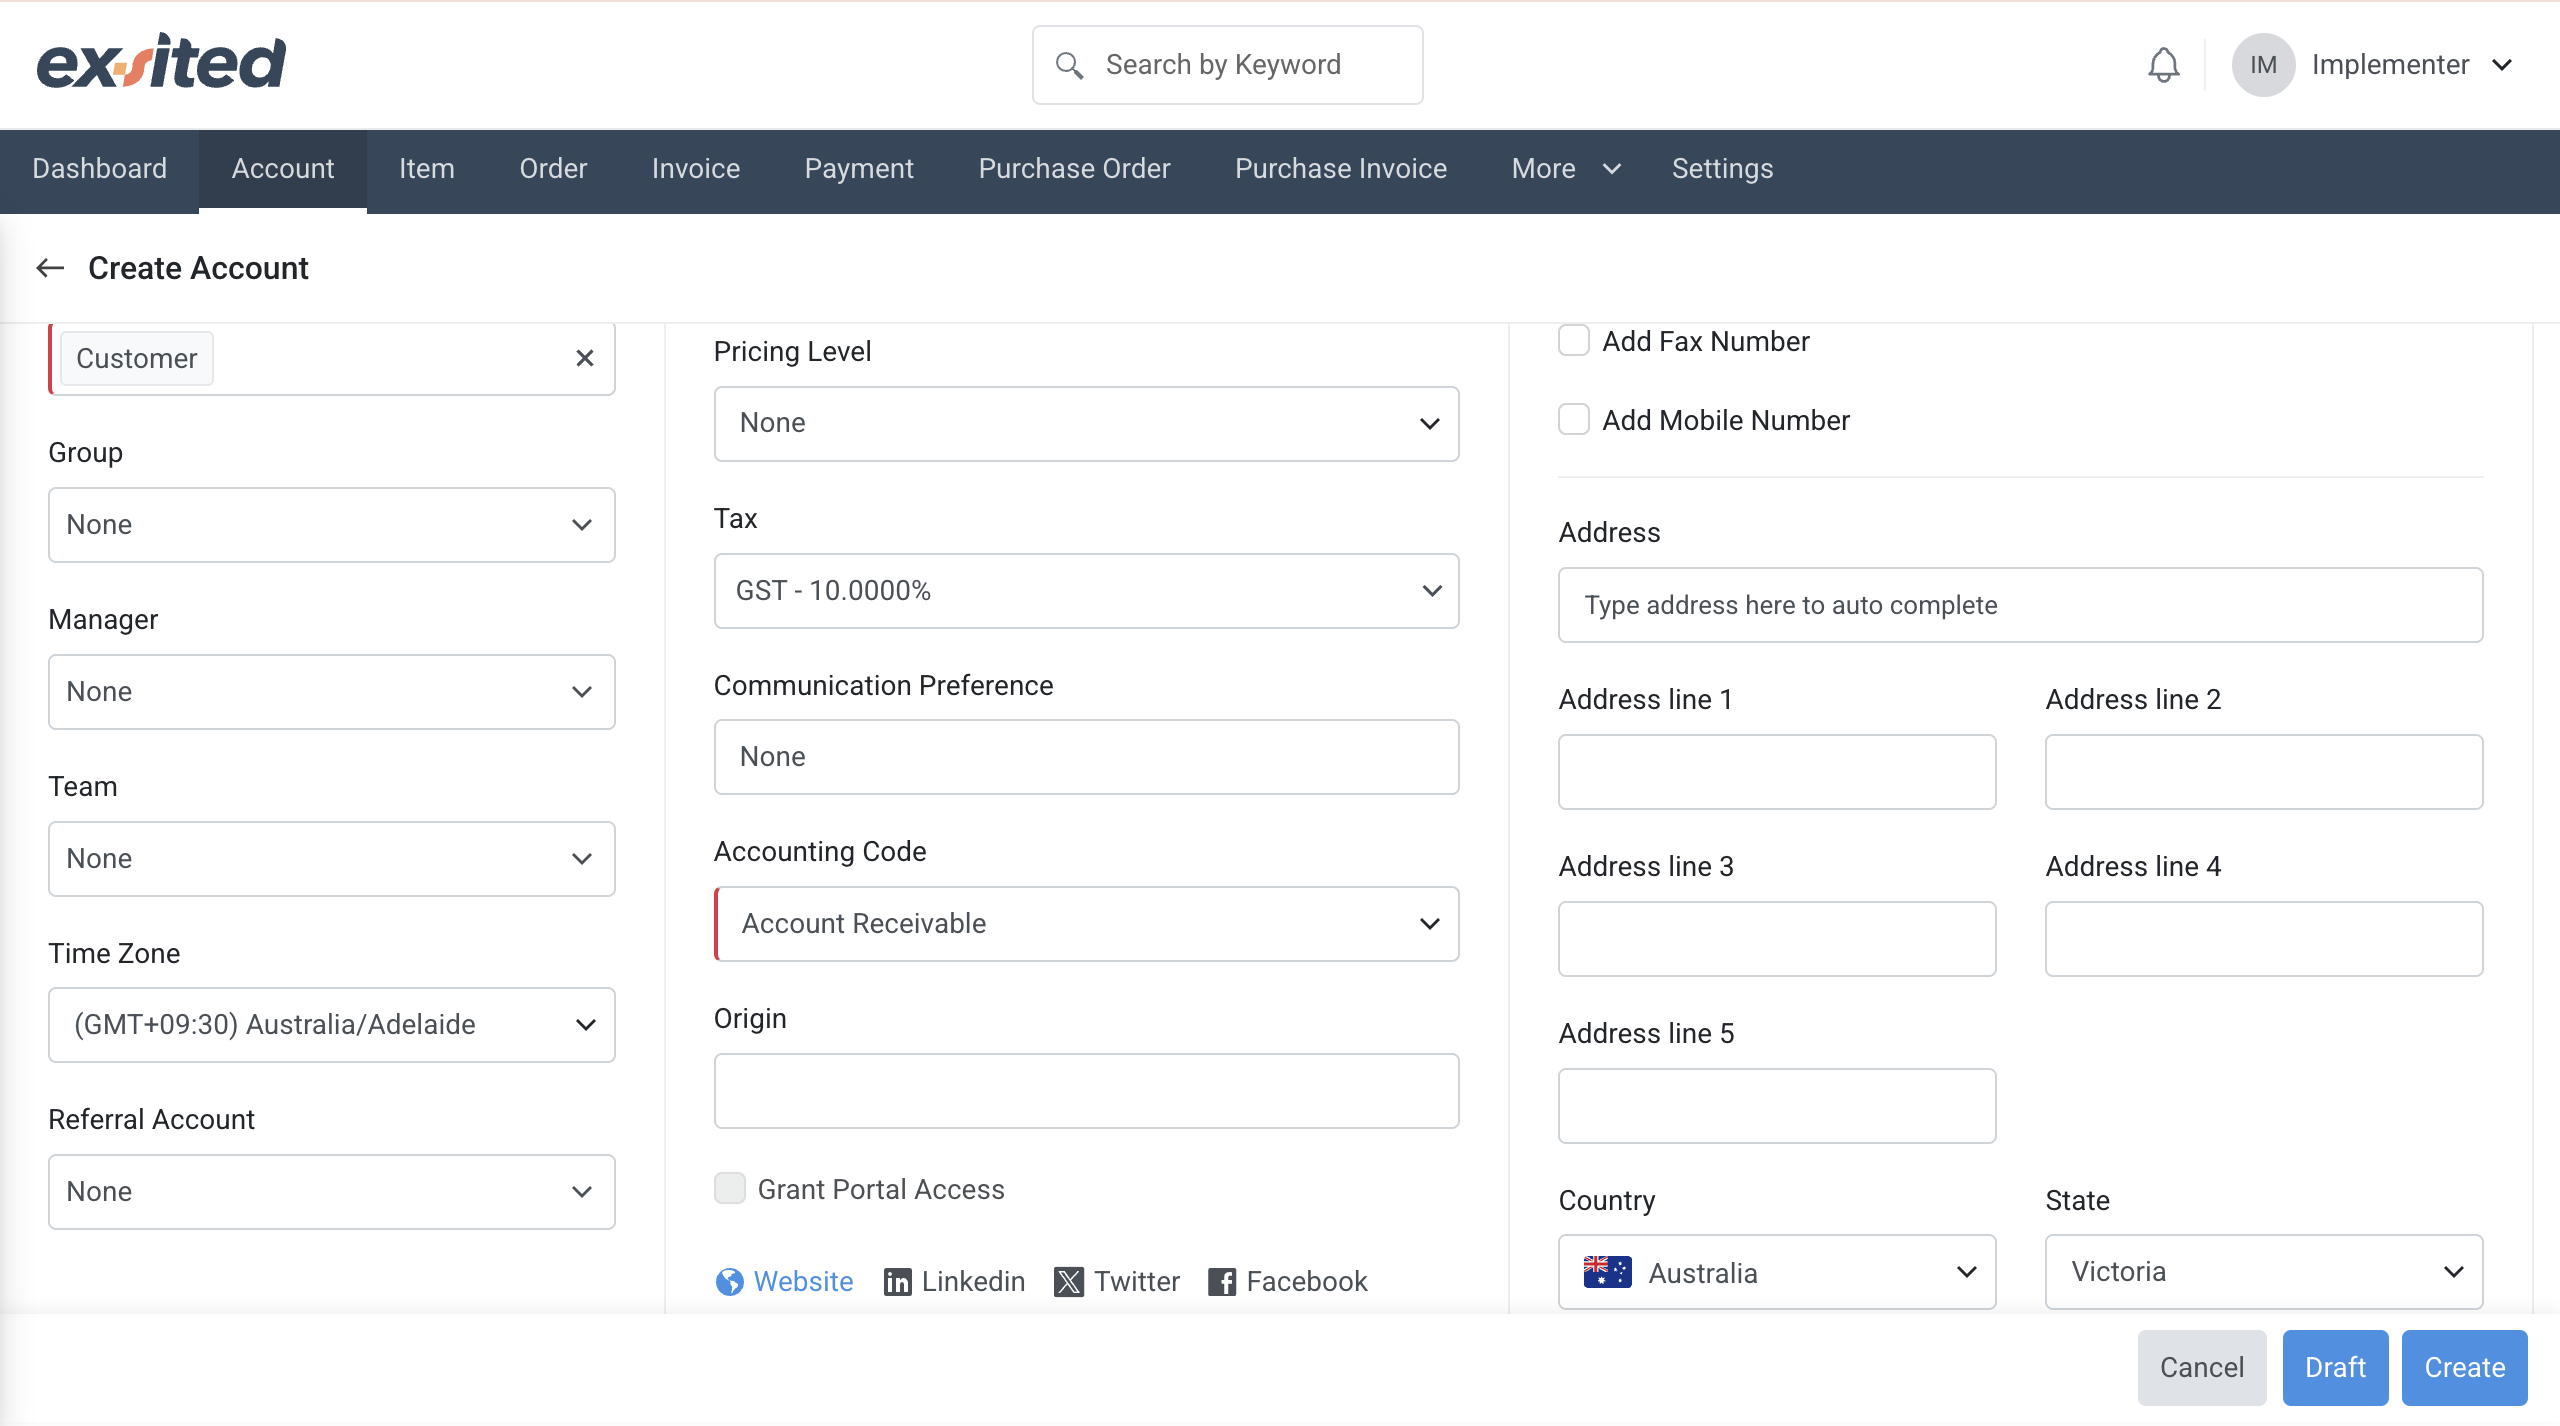
Additional Configuration
| Field | Description |
|---|---|
| Group | Optional grouping (e.g., Retail, Wholesale) |
| Manager | Assign a manager responsible for the account |
| Team | Assign a sales or service team |
| Time Zone | Select customer’s regional time zone |
| Referral Account | Track which account referred this customer |
| Pricing Level | Custom price level if applicable |
| Tax | Set applicable tax rate (e.g., GST - 10.0000%) |
| Communication Preference | Select how the customer prefers to be contacted |
| Accounting Code | Must be set (e.g., Account Receivable) |
| Origin | Optional field to note account origin (campaign, referral, etc.) |
| Grant Portal Access | Enable customer to access their portal |
| Address (Auto-complete + 5 lines) | Fill in customer billing/shipping address |
| Country / State | Pre-set values with dropdowns (e.g., Australia, Victoria) |
Save the Account
At the bottom of the page:
- Click Create to save and activate the account
- Click Draft to save without publishing
- Click Cancel to discard
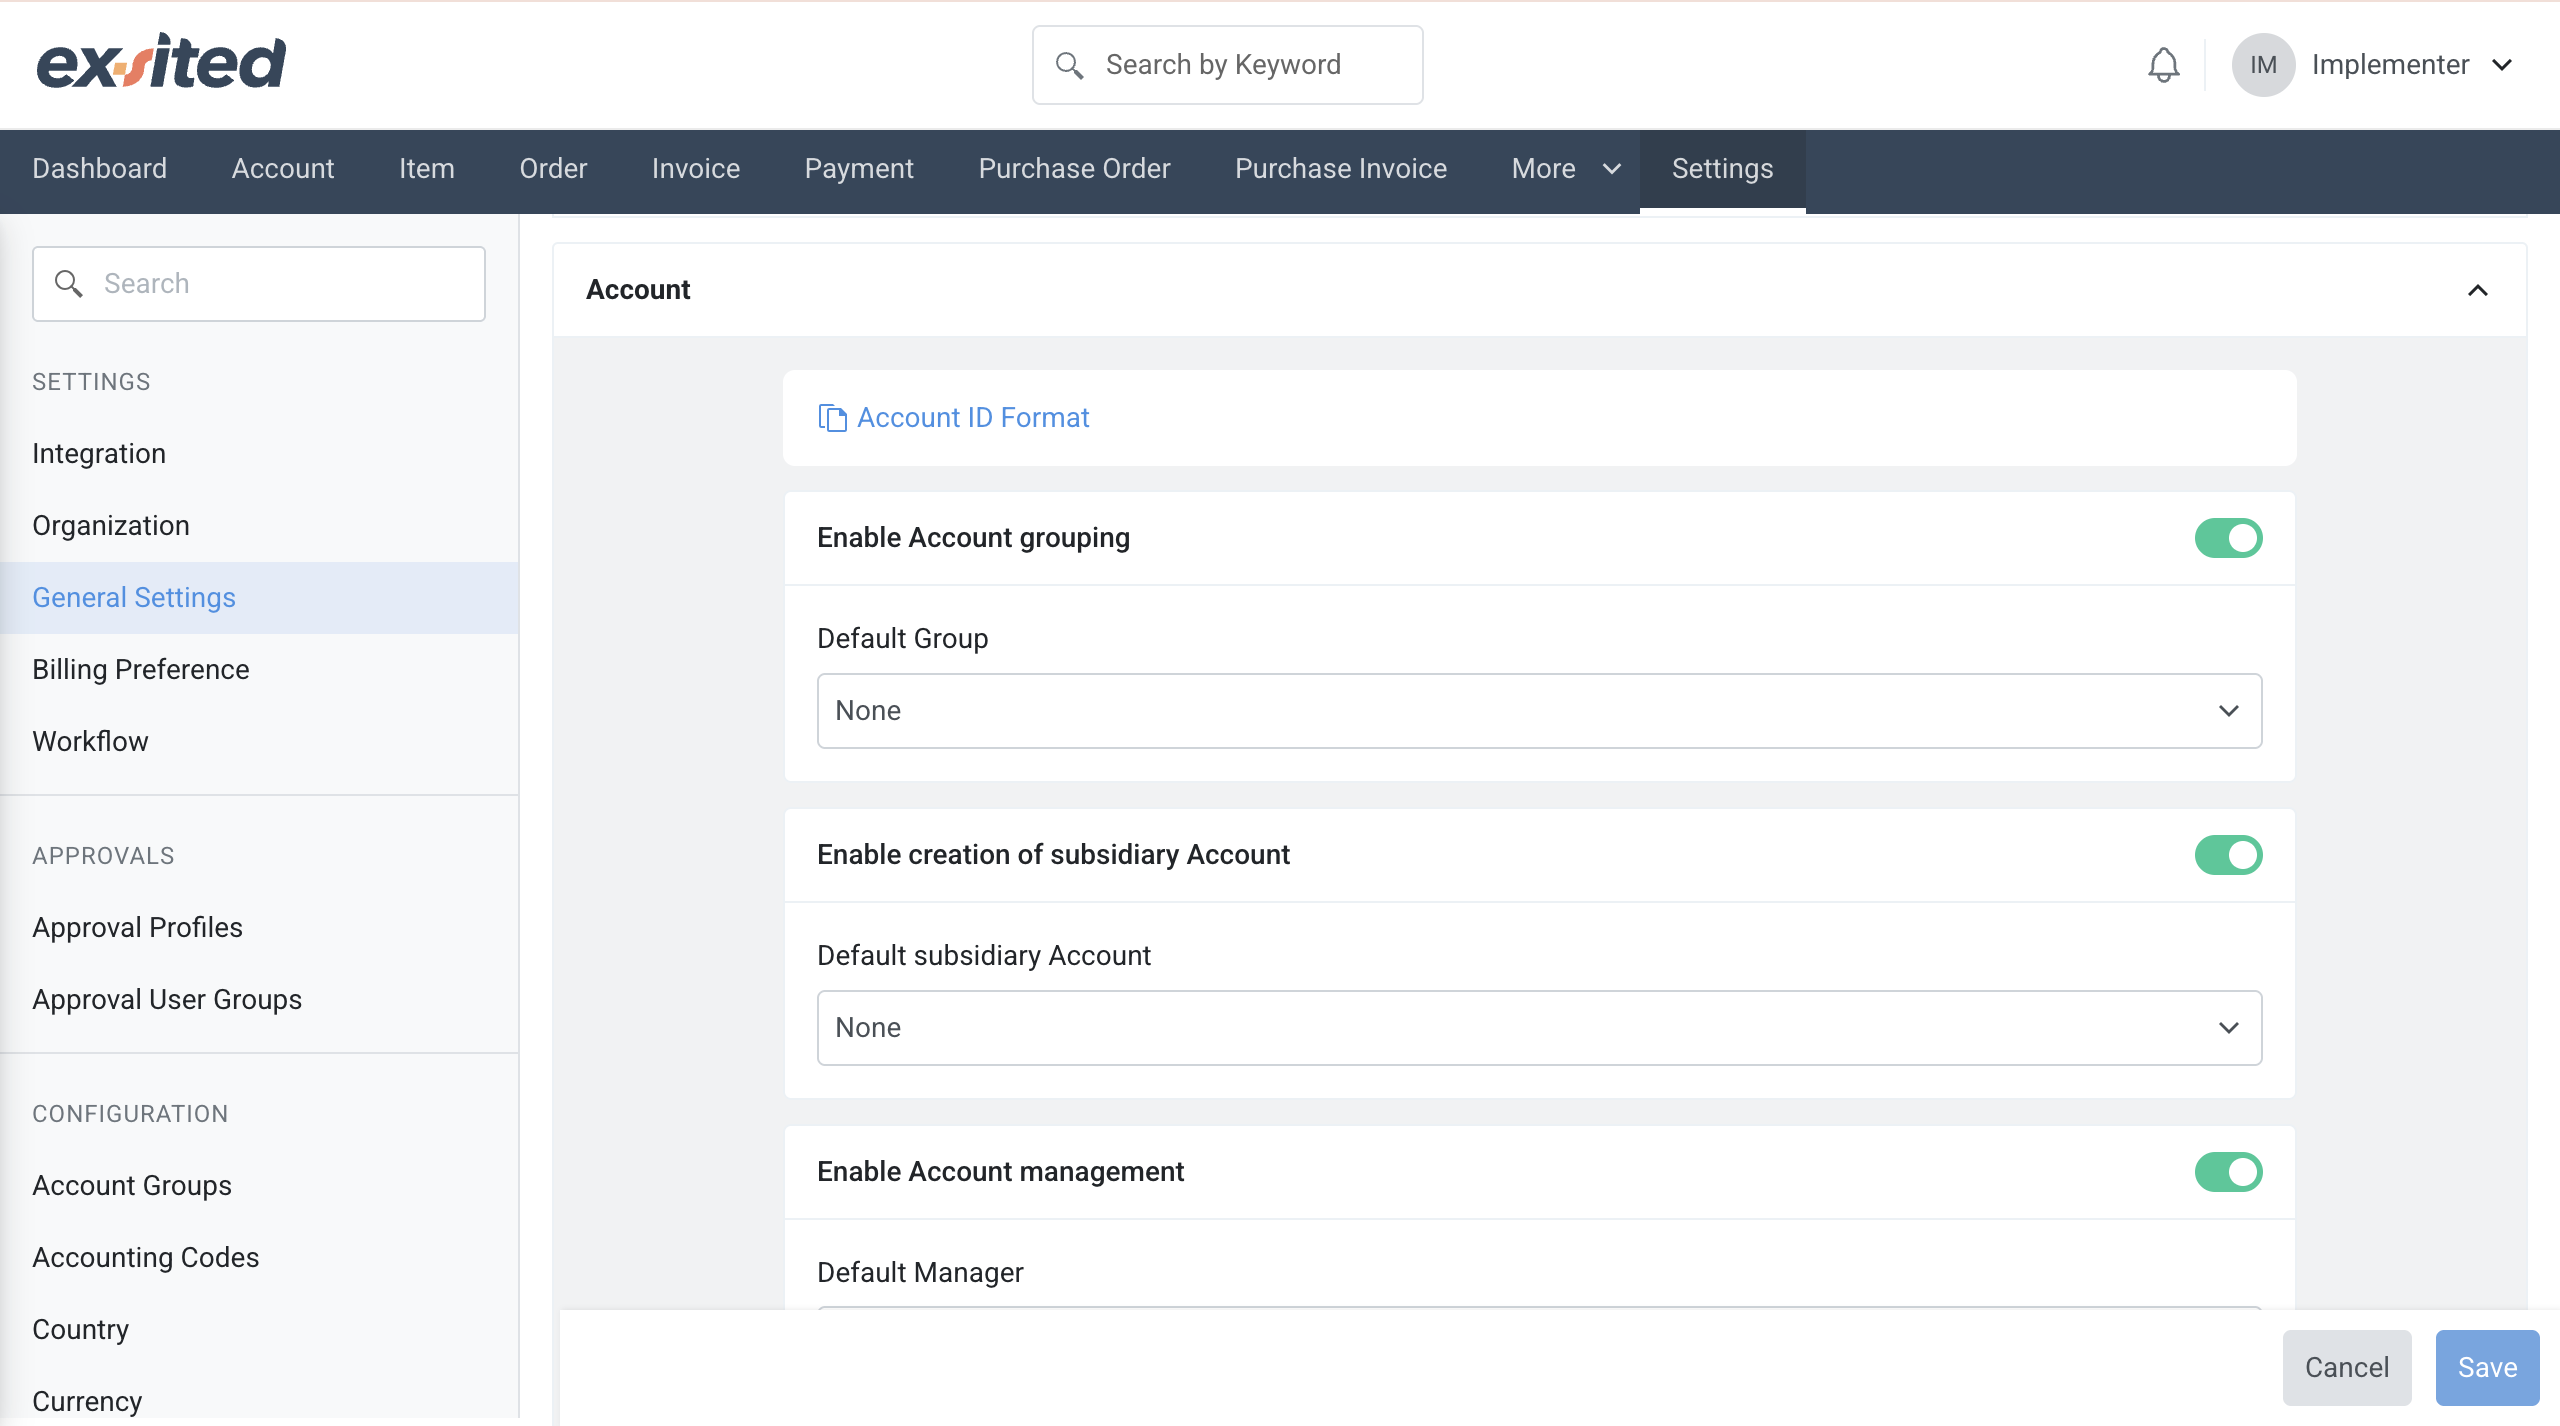
Account Settings Configuration
Access via:
Settings → General Settings → Account
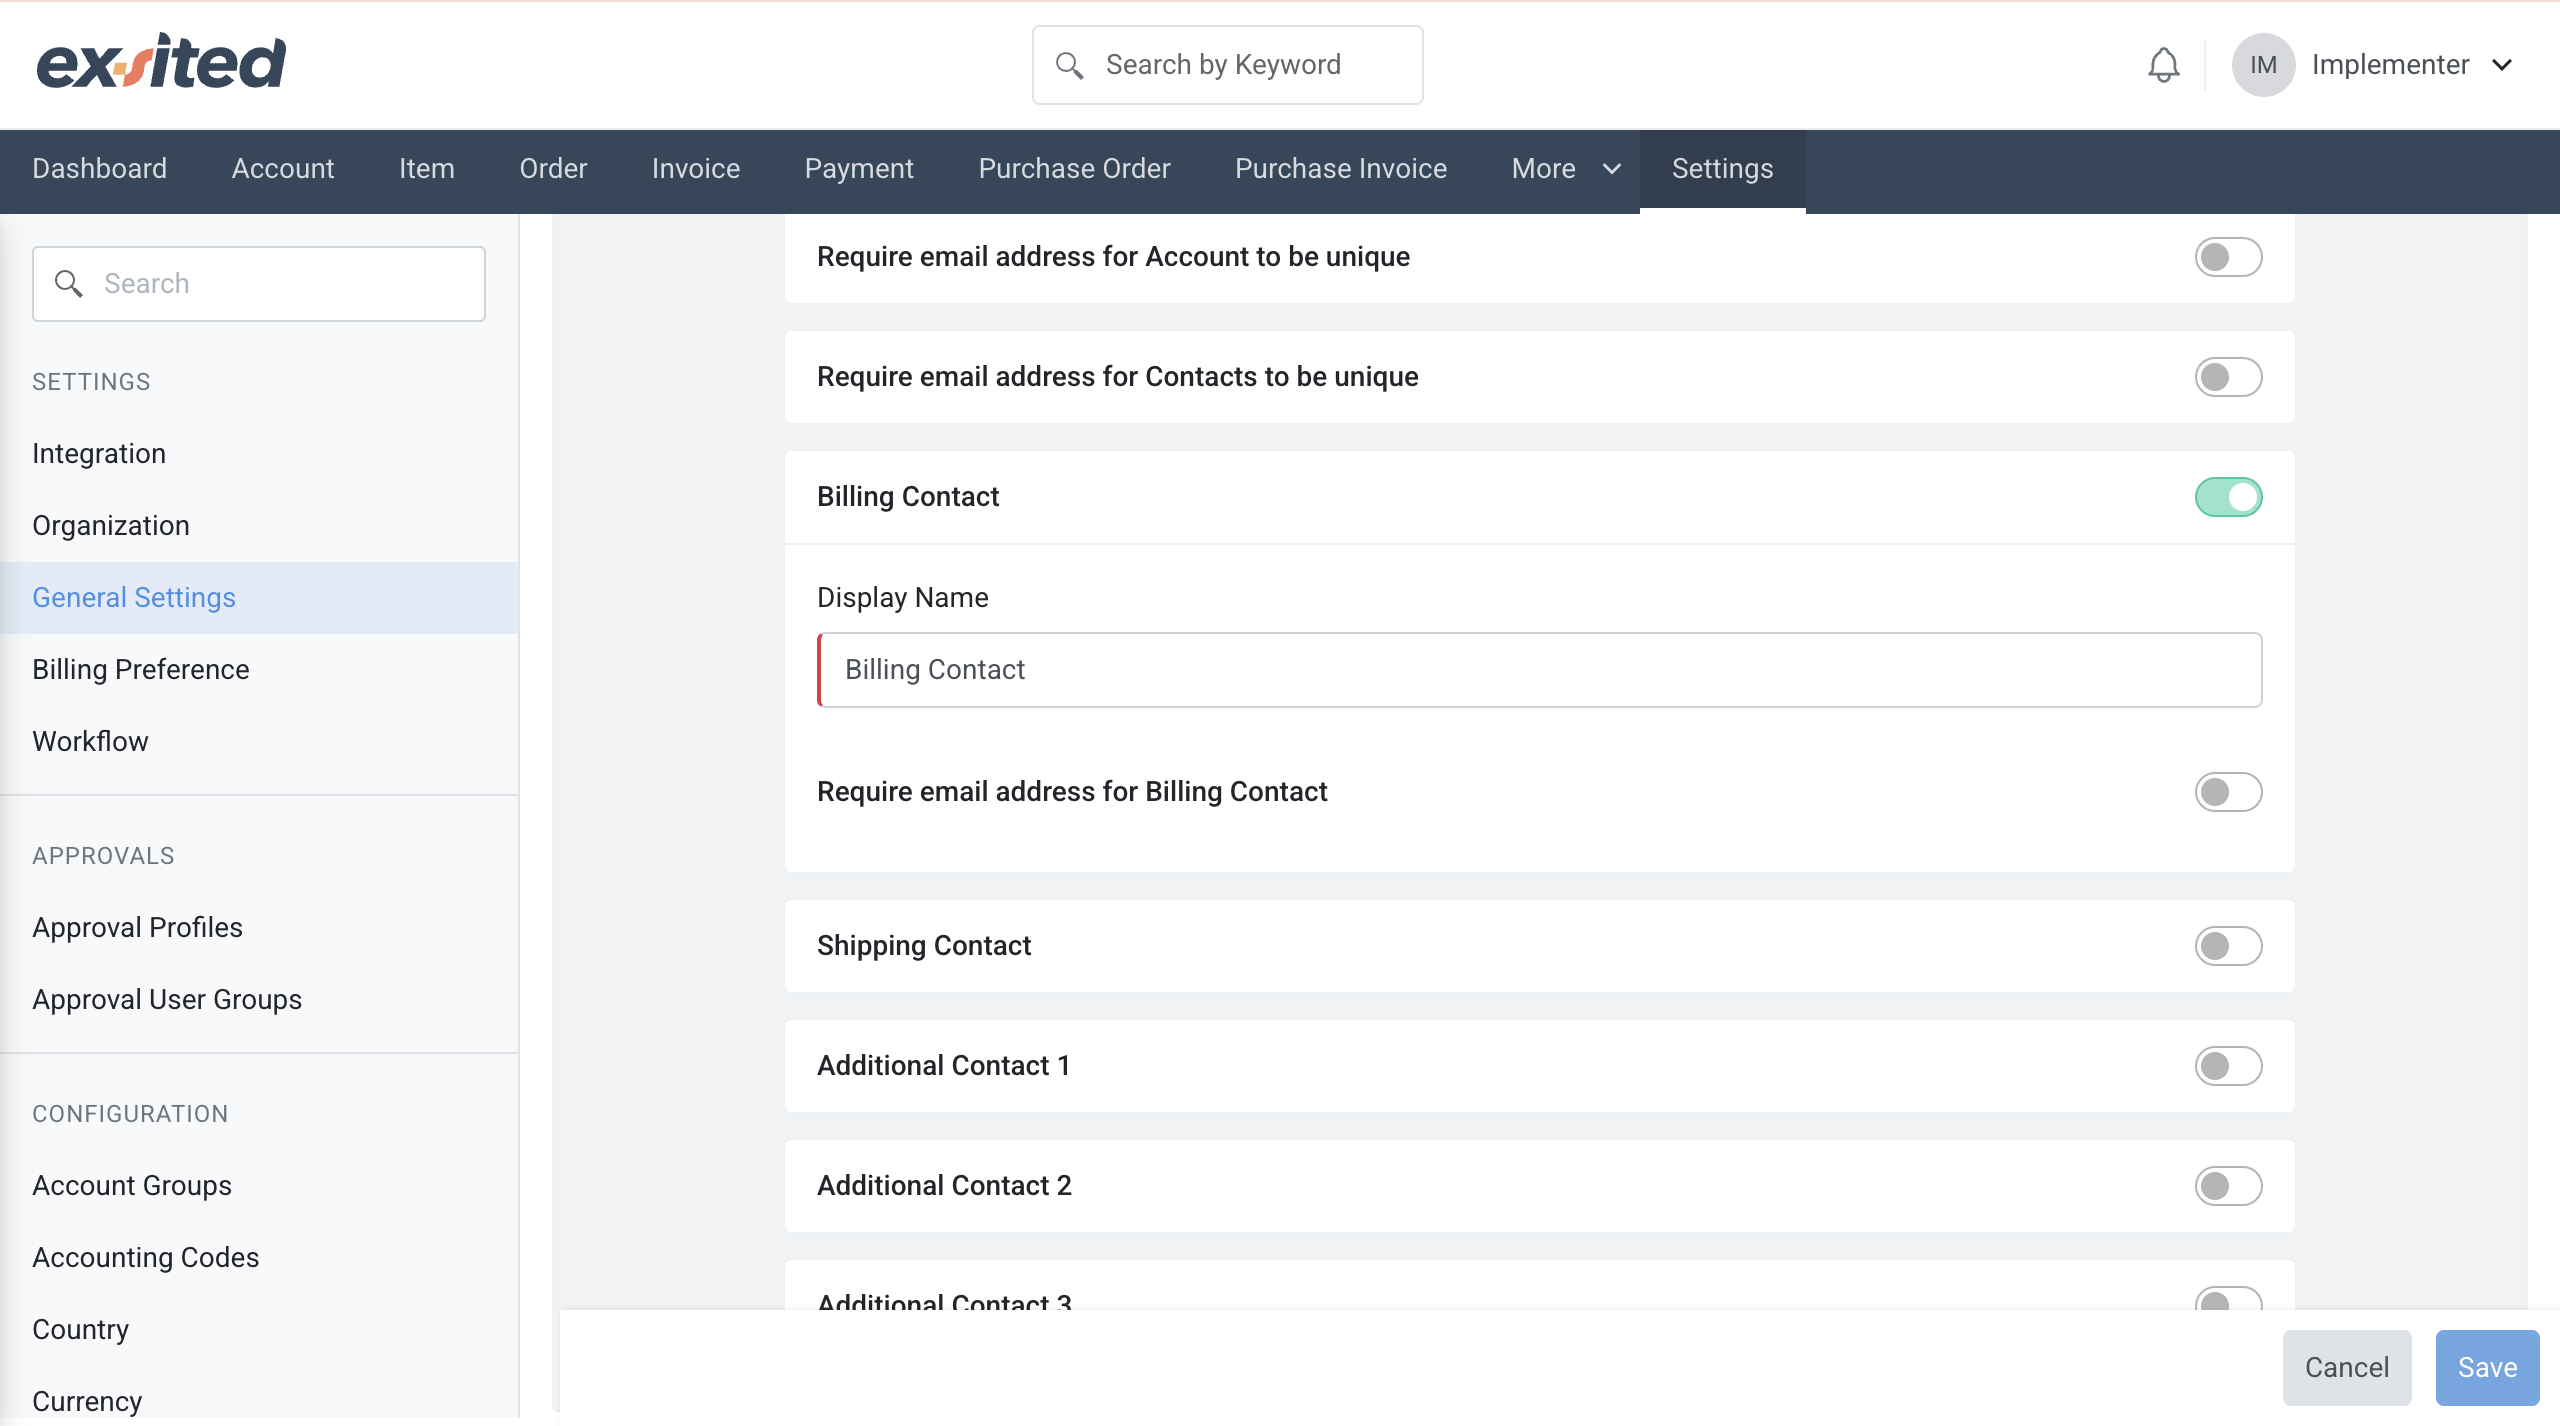
In the General Settings > Account section of Exsited, users have the flexibility to enable only the features they require for their business needs. Whether it's account grouping, subsidiary account creation, account-level management, referral or sales rep tracking, or enforcing unique names and email addresses, each setting can be toggled on or off individually. This allows organisations to tailor the account configuration to match their operational structure and compliance preferences without enabling unnecessary functions.
Key Configuration Toggles
| Setting | Description |
|---|---|
| Enable Account Grouping | Group accounts by segment (Retail, Wholesale, etc.) |
| Enable Subsidiary Accounts | Support parent-child structures (e.g., HQ and branches) |
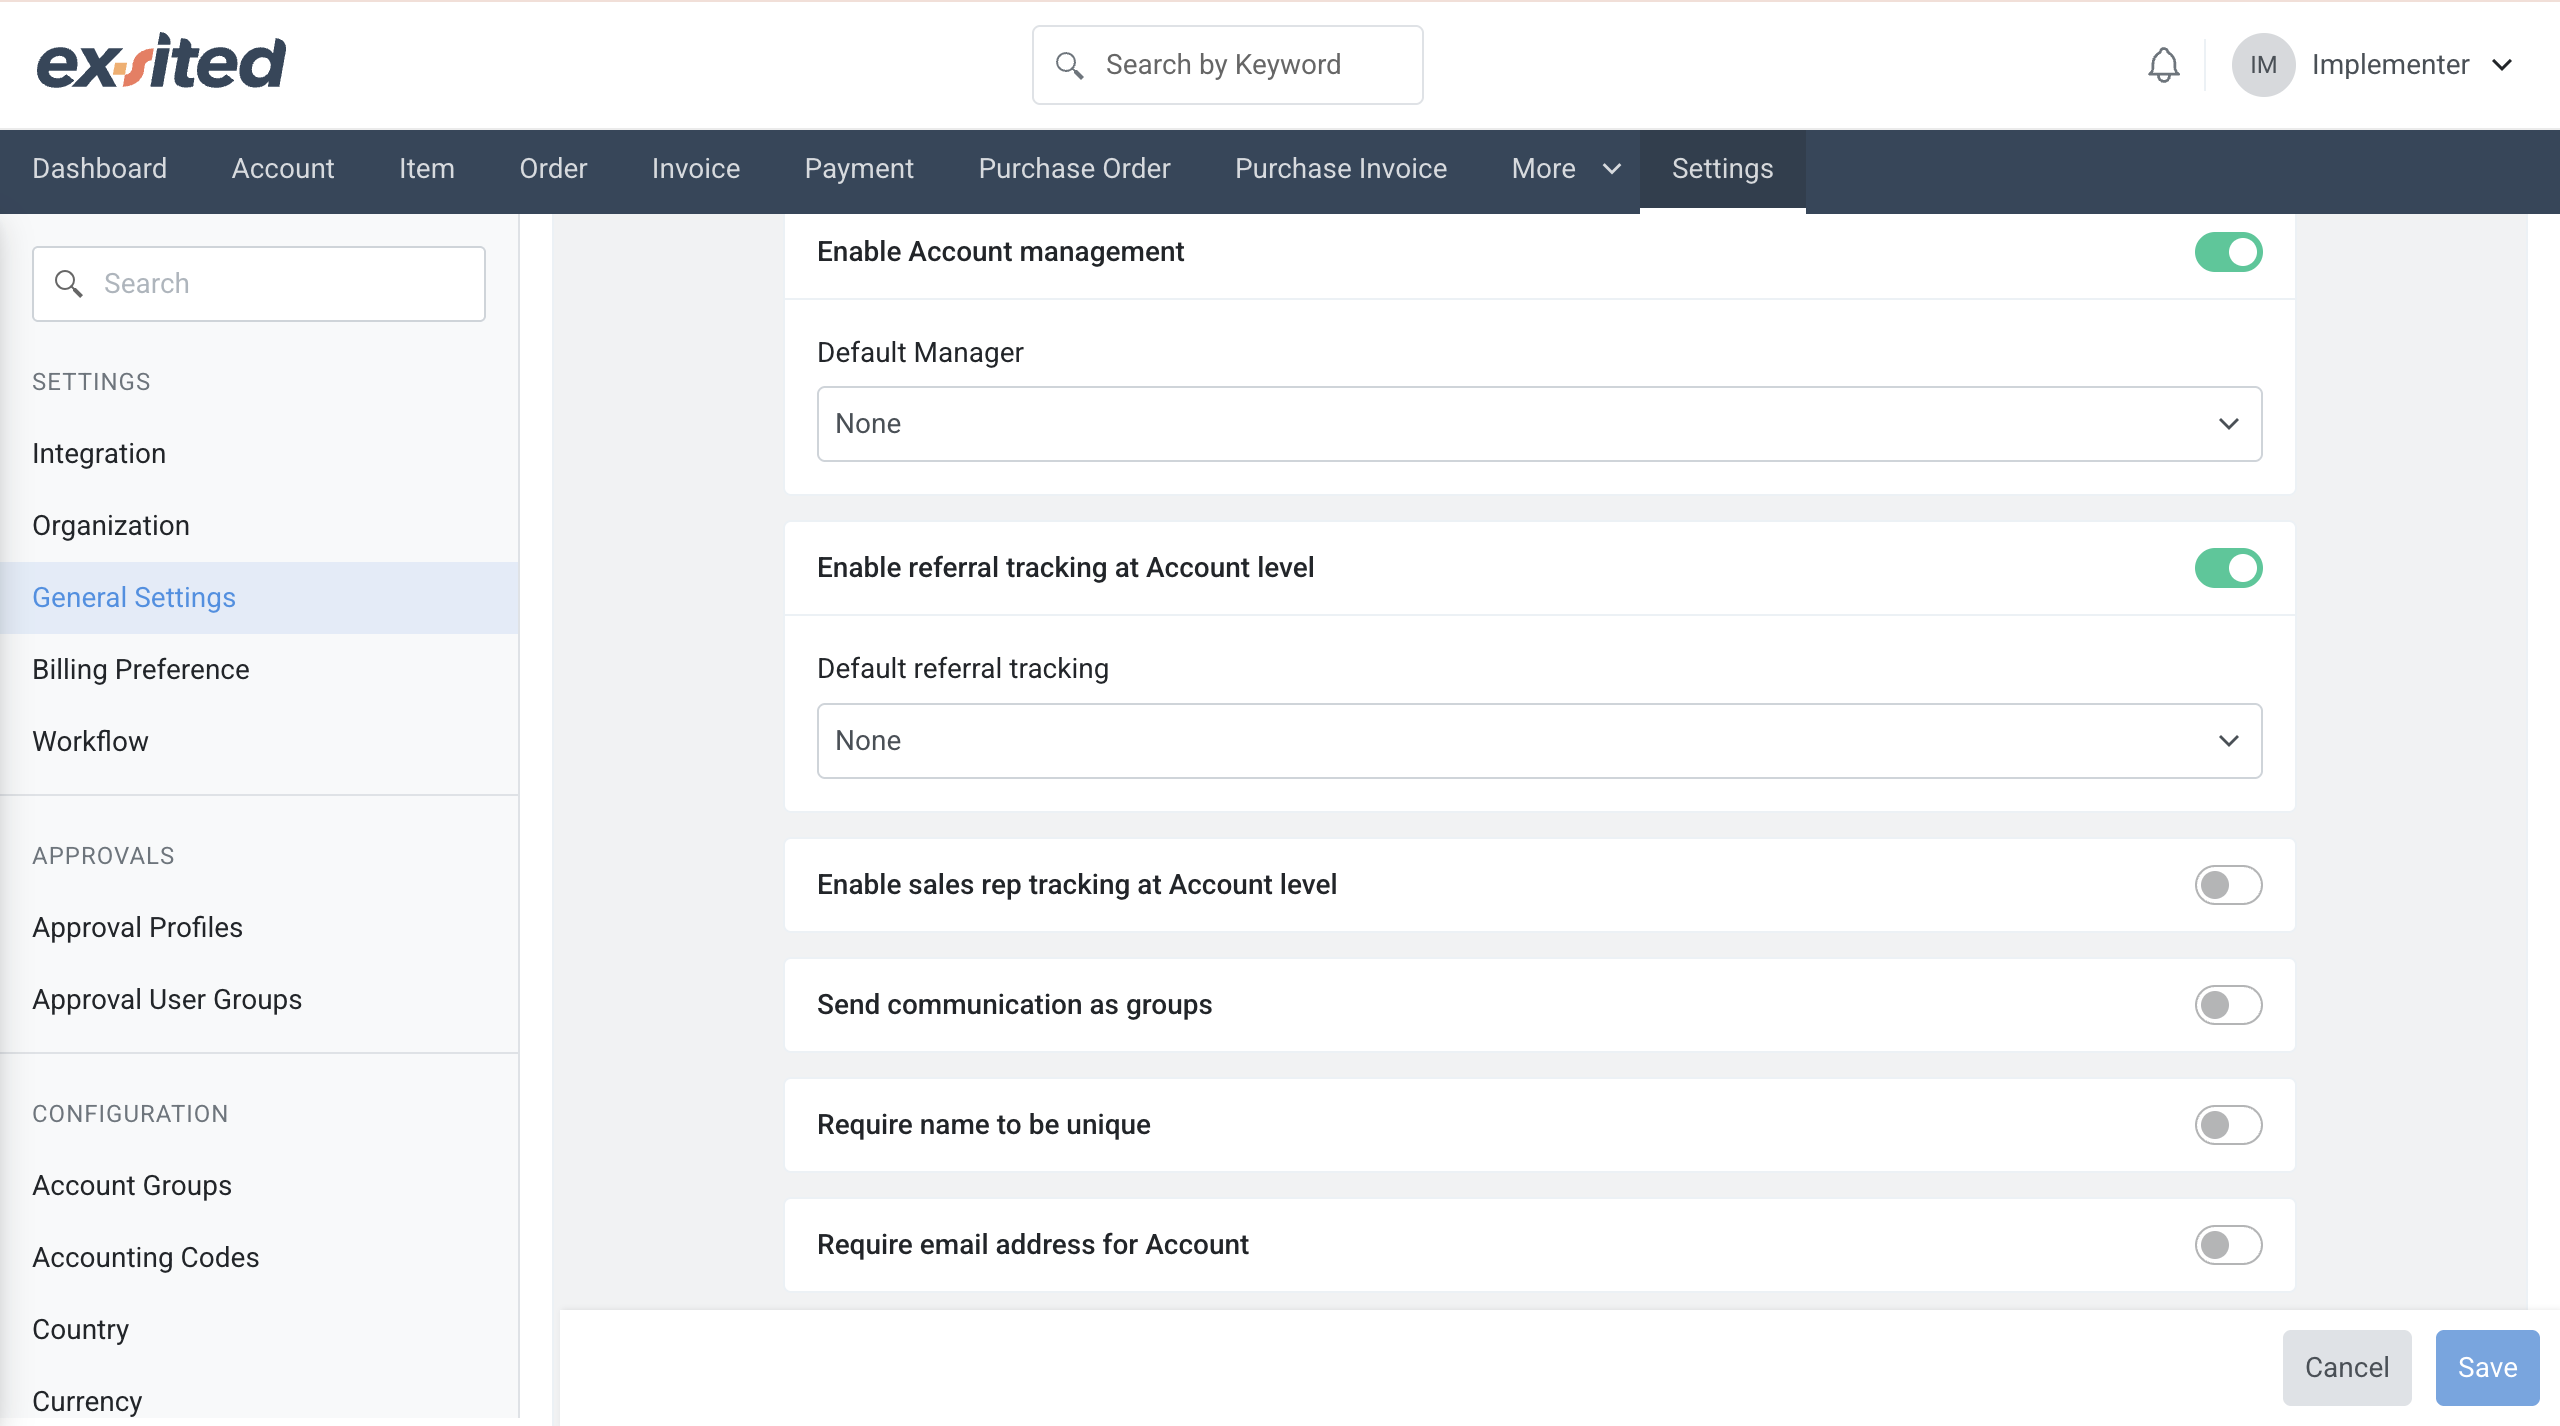
| Enable Account Management | Assign default managers to all new accounts |
| Enable Referral Tracking | Track how each customer was acquired |
| Enable Sales Rep Tracking | Track salesperson performance per account |
| Send Communication as Groups | Bulk send email updates to grouped accounts |
| Require Unique Name | Prevent duplicate account names |
| Require Email Address for Account | Enforce email as a required field |
| Require Unique Email for Account | Prevent duplicate emails |
| Require Unique Email for Contacts | Control redundancy across contacts |
Contact-Level Settings
Billing Contact Settings:
| Field | Description |
|---|---|
| Display Name | Label for the contact (e.g., Billing Contact) |
| Require Email for Billing Contact | Ensure contact has a valid email |
You can also optionally configure:
- Shipping Contact
- Additional Contacts 1–3
These ensure structured and reliable communication for invoicing and logistics.
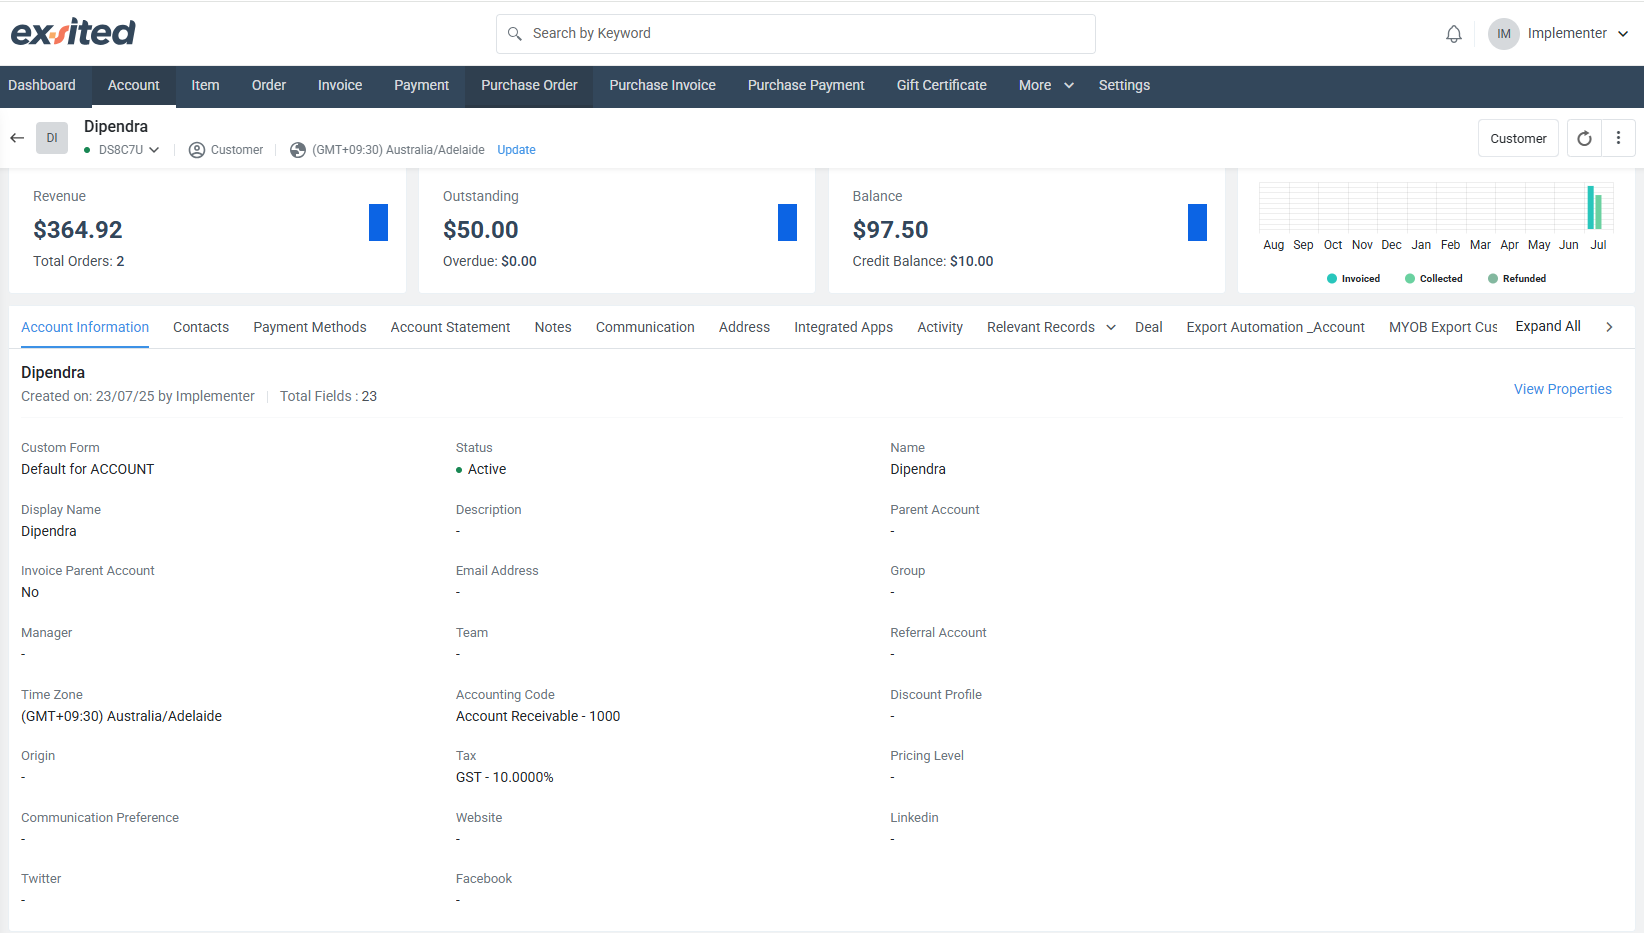
View Account Details
In the Account List View → Select Account
Account Information
This section displays core details about the customer or account profile. It includes status, account name, time zone, tax rate, accounting code, and communication preferences. Key identifiers such as custom form, display name, and account hierarchy (parent/child) are shown to provide context for account classification. This centralised view helps users quickly assess the account setup, financial configuration, and essential metadata for streamlined account management.
Contacts
This section allows users to manage contact details associated with the account. It typically includes individuals' names, roles, phone numbers, and email addresses relevant to the customer or organisation. If no contacts have been added, a "No Contacts" message will be shown along with an option to Add Contact. Maintaining updated contact information ensures effective communication and coordination with key stakeholders linked to the account.

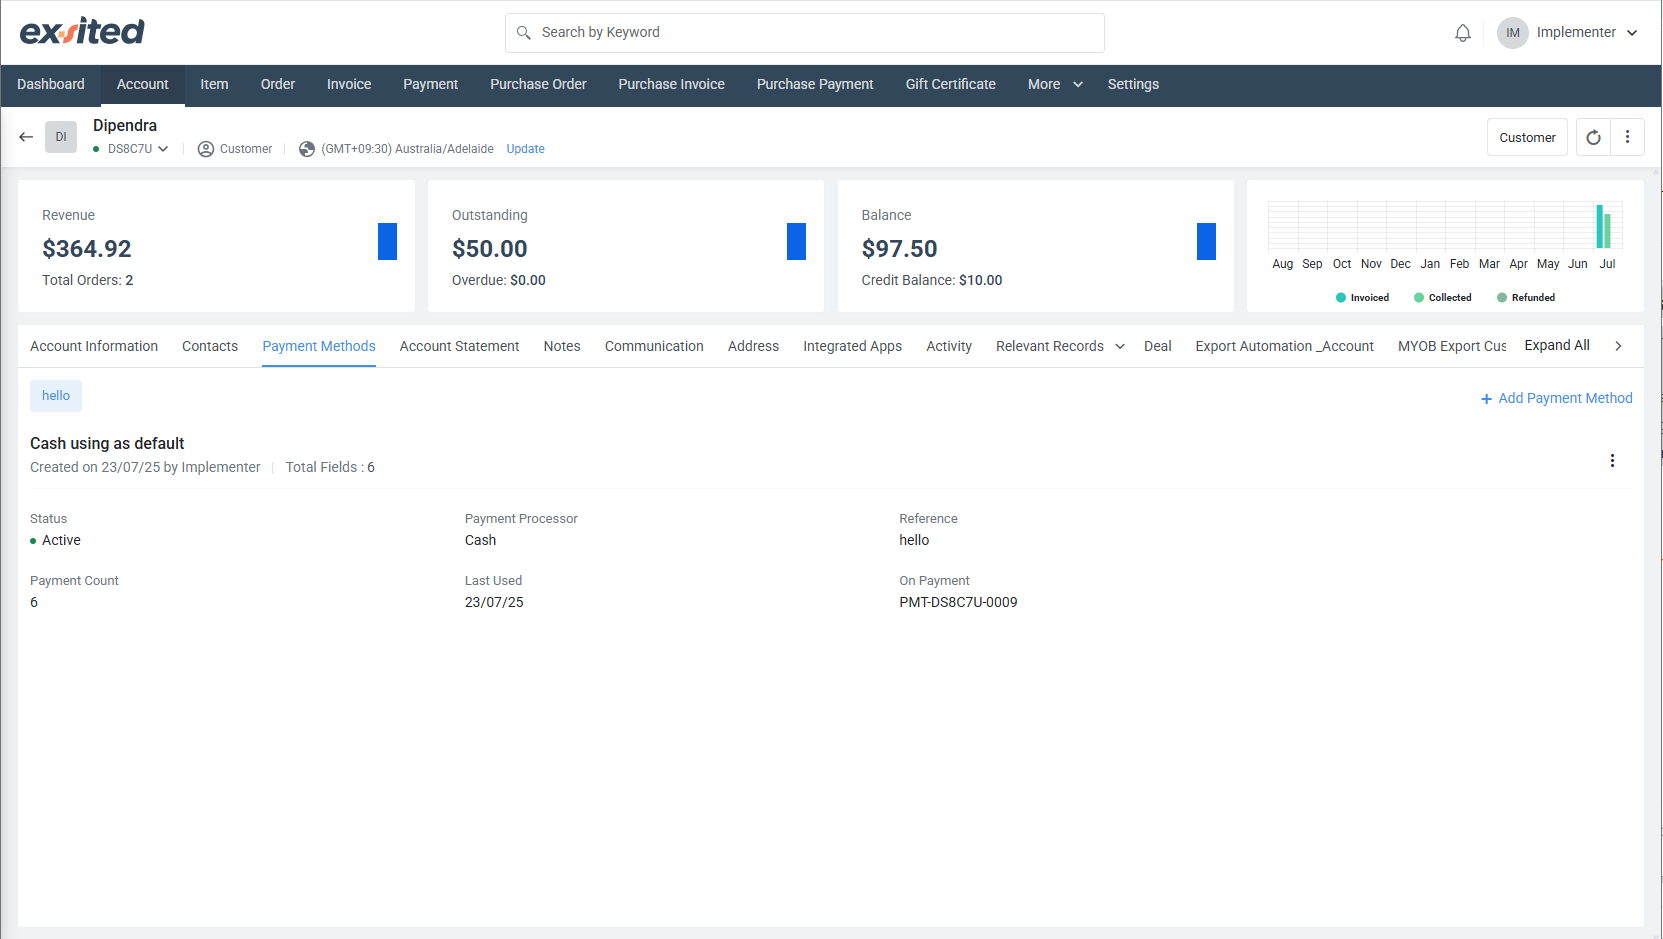
Payment Methods
This section displays the available payment methods linked to the account, such as cash, credit card, or bank transfer. It includes key details like the payment processor, status, reference name, number of times used, and the last usage date. Users can set a default method and add or update payment methods as needed. This feature ensures streamlined and consistent processing of transactions, improving financial accuracy and efficiency.
Account Statement
This section displays the financial transaction history between the company and the customer for a selected period. Each statement includes a unique ID, date range, creation details, and current status (e.g., Open or Closed). Users can generate a new account statement by selecting a custom date range. This feature helps in reviewing outstanding balances, payment history, and reconciliation, providing a clear snapshot of the customer’s financial activity.
.png)
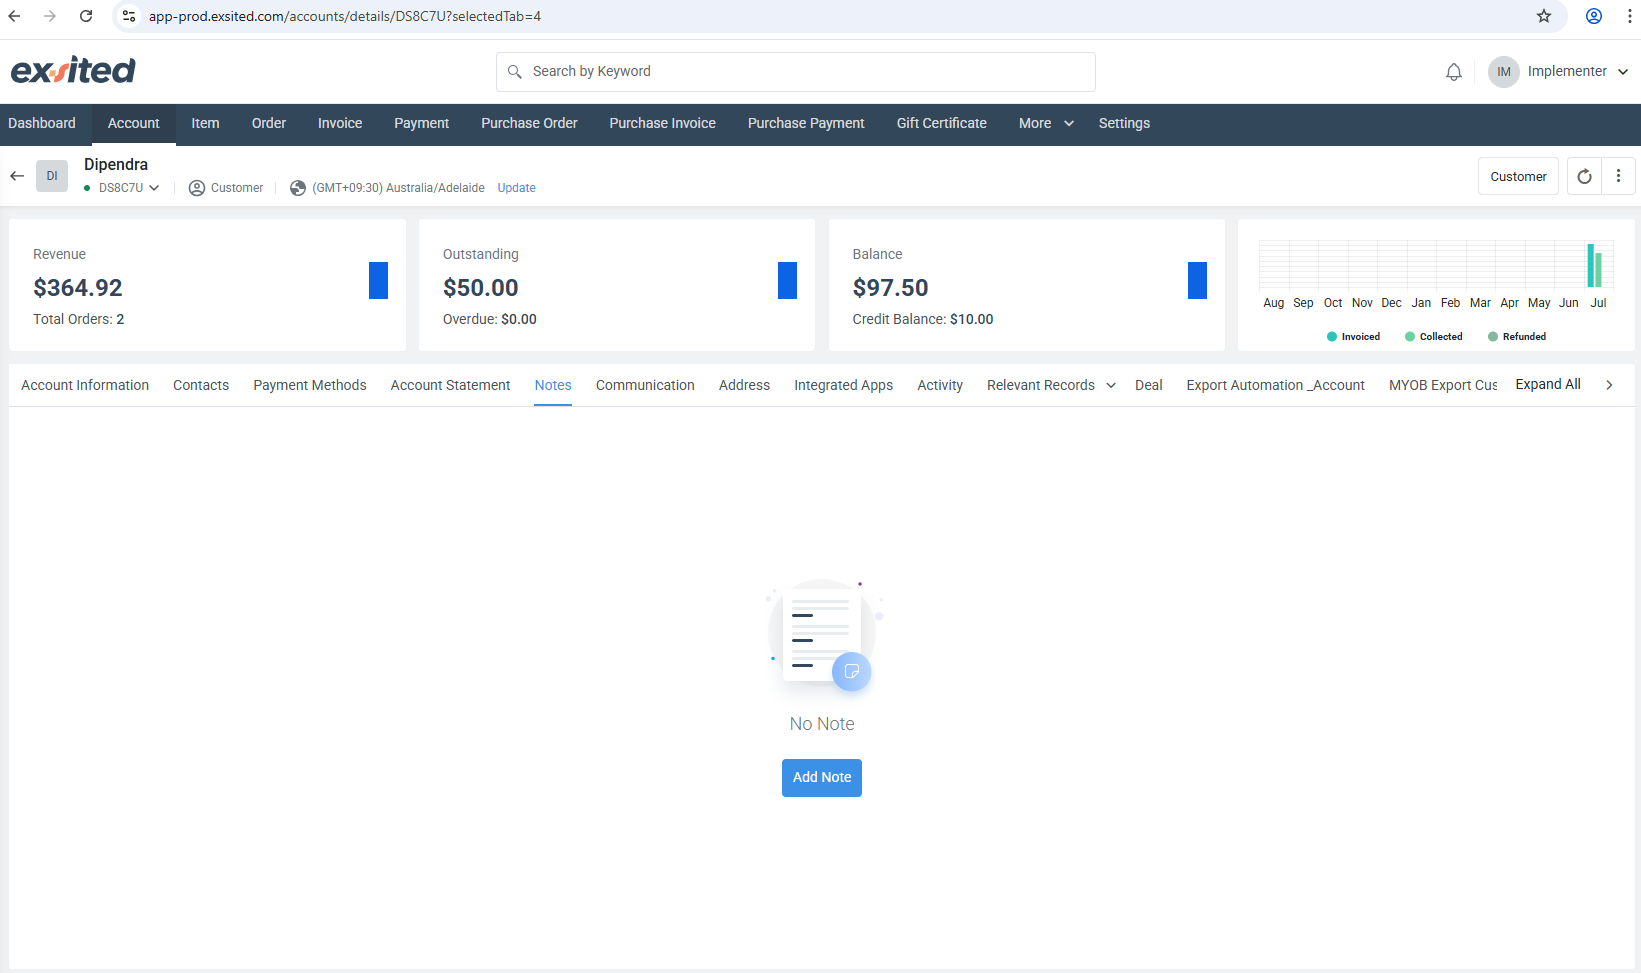
Notes
This section allows users to record and manage internal notes associated with the customer account. Notes can be used to capture important details, follow-ups, or internal communications relevant to the account. If no notes have been added yet, the interface displays a "No Note" message along with an option to Add Note. This functionality helps ensure that all relevant information is centrally stored for future reference and team collaboration.
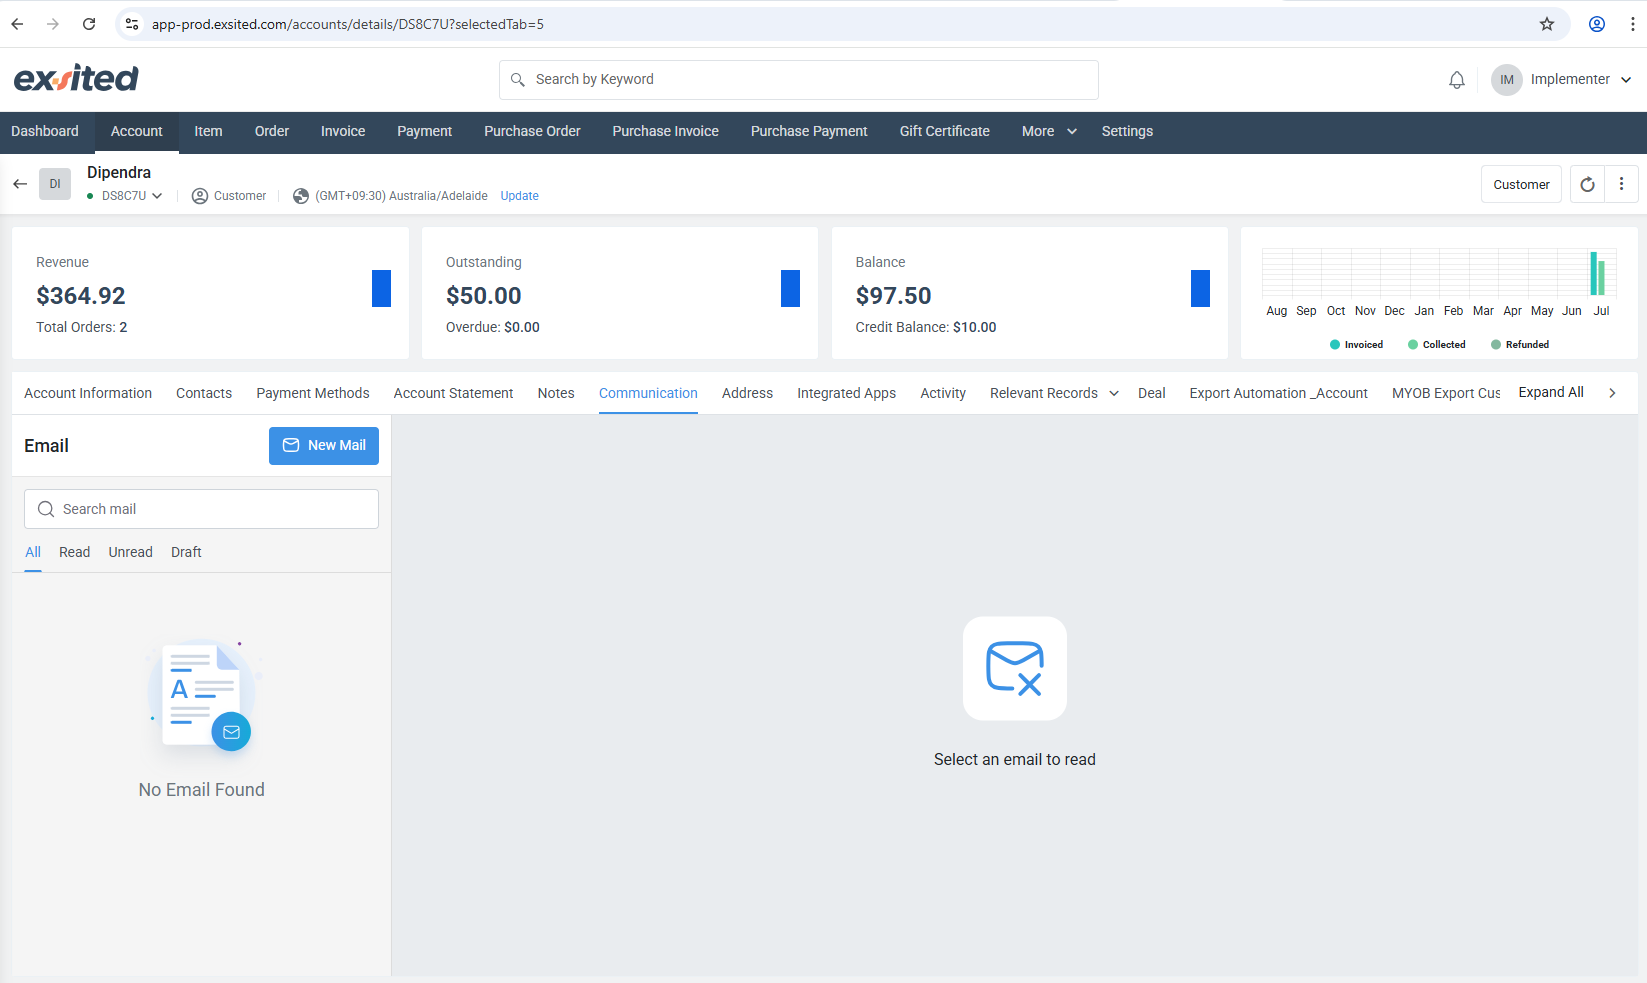
Communication
This section enables users to manage email communications associated with the customer account. Users can send new emails using the New Mail button and view existing ones categorised under All, Read, Unread, or Draft tabs. If no emails have been exchanged yet, the interface shows a "No Email Found" message. This centralised communication hub ensures that all correspondence is traceable and organised for easy access and follow-up.
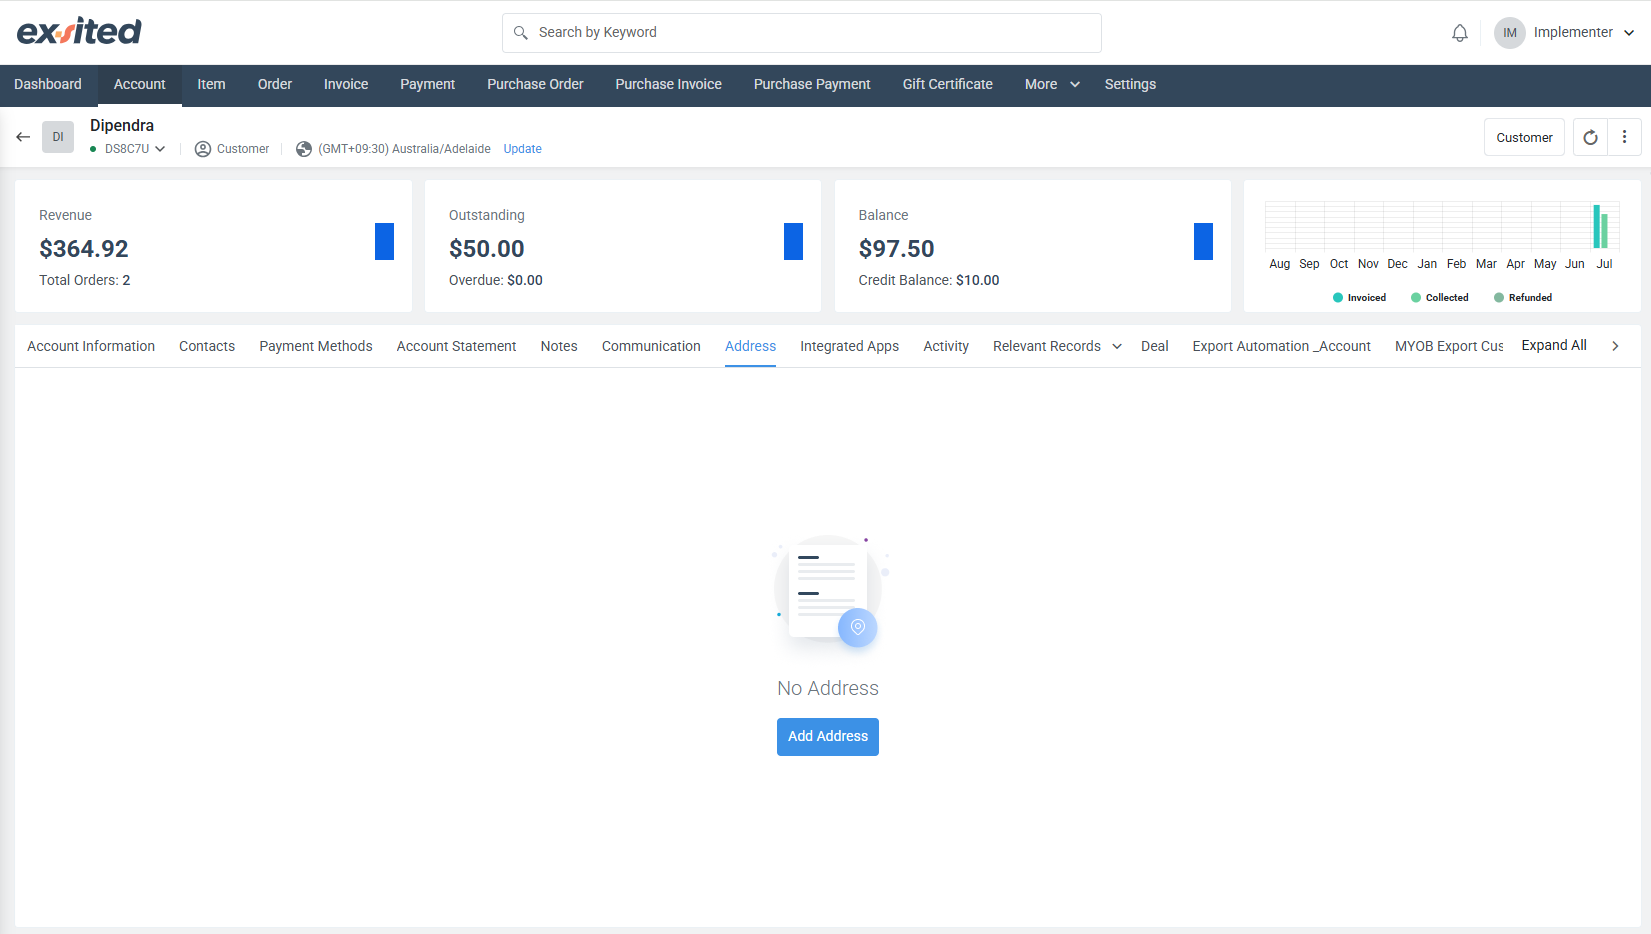
Address
The Address section allows users to manage and store physical addresses related to the customer account. This could include billing, shipping, or office locations. Currently, no address has been added, and the section prompts users with an "Add Address" button to input location details. This functionality is crucial for order fulfilment, invoicing, and maintaining accurate customer records.
Integrated Apps
The Integrated Apps section allows users to view and manage third-party applications linked to the customer account. This includes platforms like accounting software, e-commerce systems, and other business tools. Users can see the status of each integration (e.g., Linked), perform actions such as unlinking or opening the app directly, and review synchronisation history. The sync log provides detailed records of data exports or imports, including any errors encountered during the process. This functionality helps ensure seamless data flow between systems and maintains up-to-date customer information across platforms.
.png)
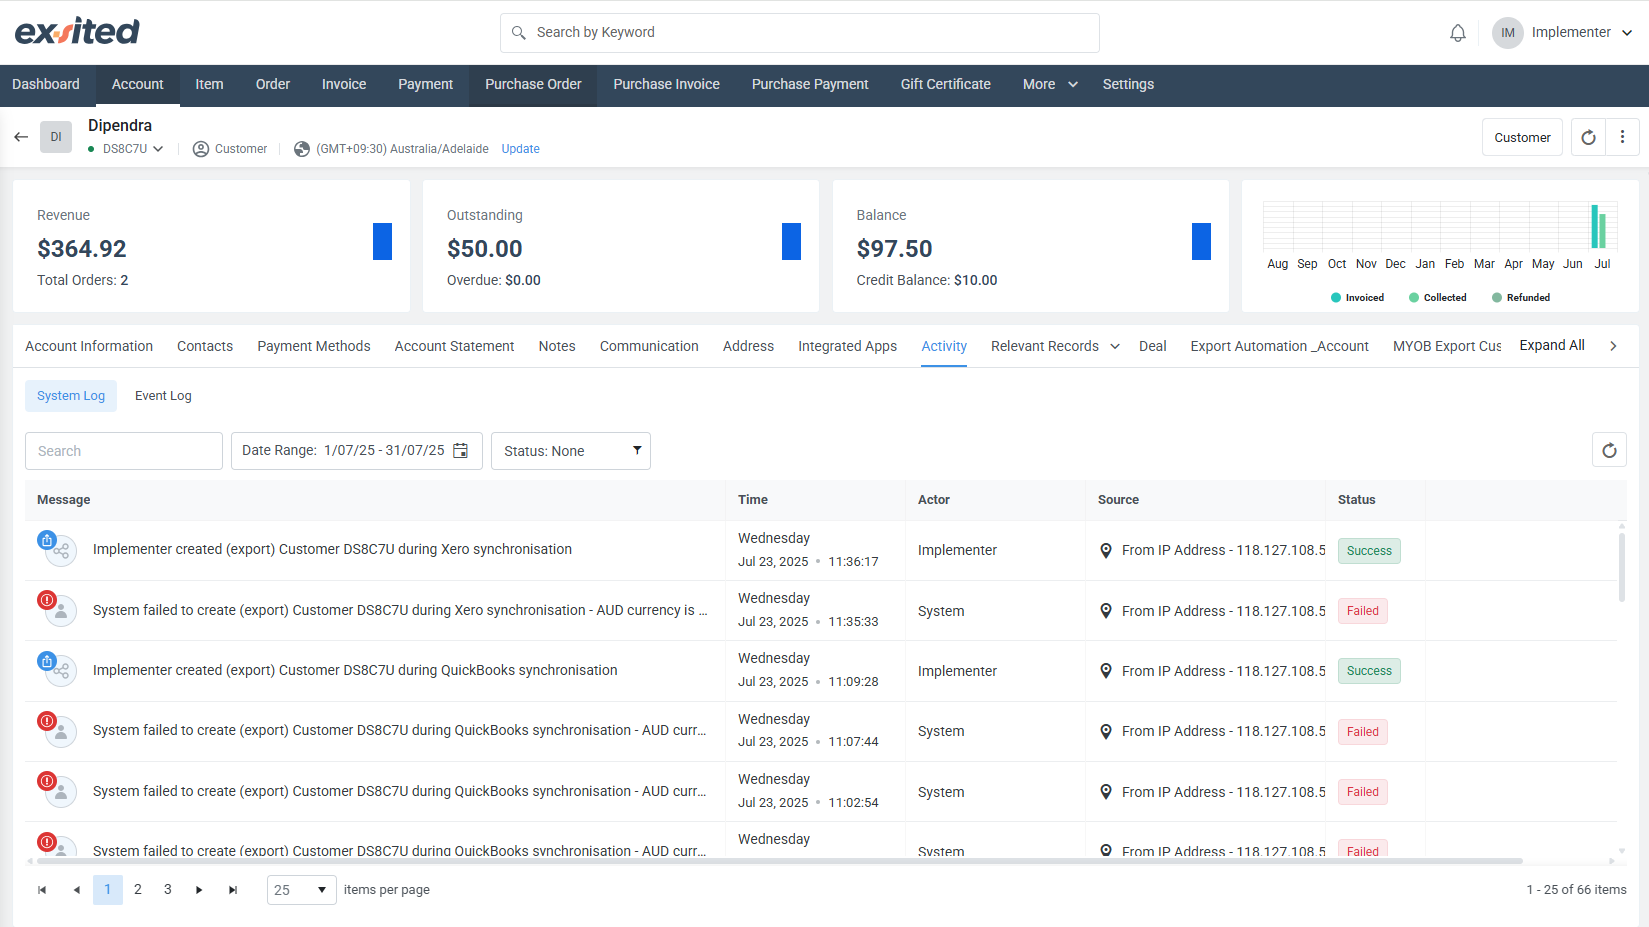
Activity
The Activity section provides a comprehensive log of system and user actions related to the customer account. It includes detailed records such as creation, updates, and synchronisation events with third-party applications. Users can filter entries by date range and status, making it easier to track specific activities. Each log entry includes a message describing the action, the timestamp, the actor responsible, the source IP address, and the current status (e.g., Success, Failed). This section is essential for auditing, troubleshooting, and ensuring transparency in system operations and integrations.
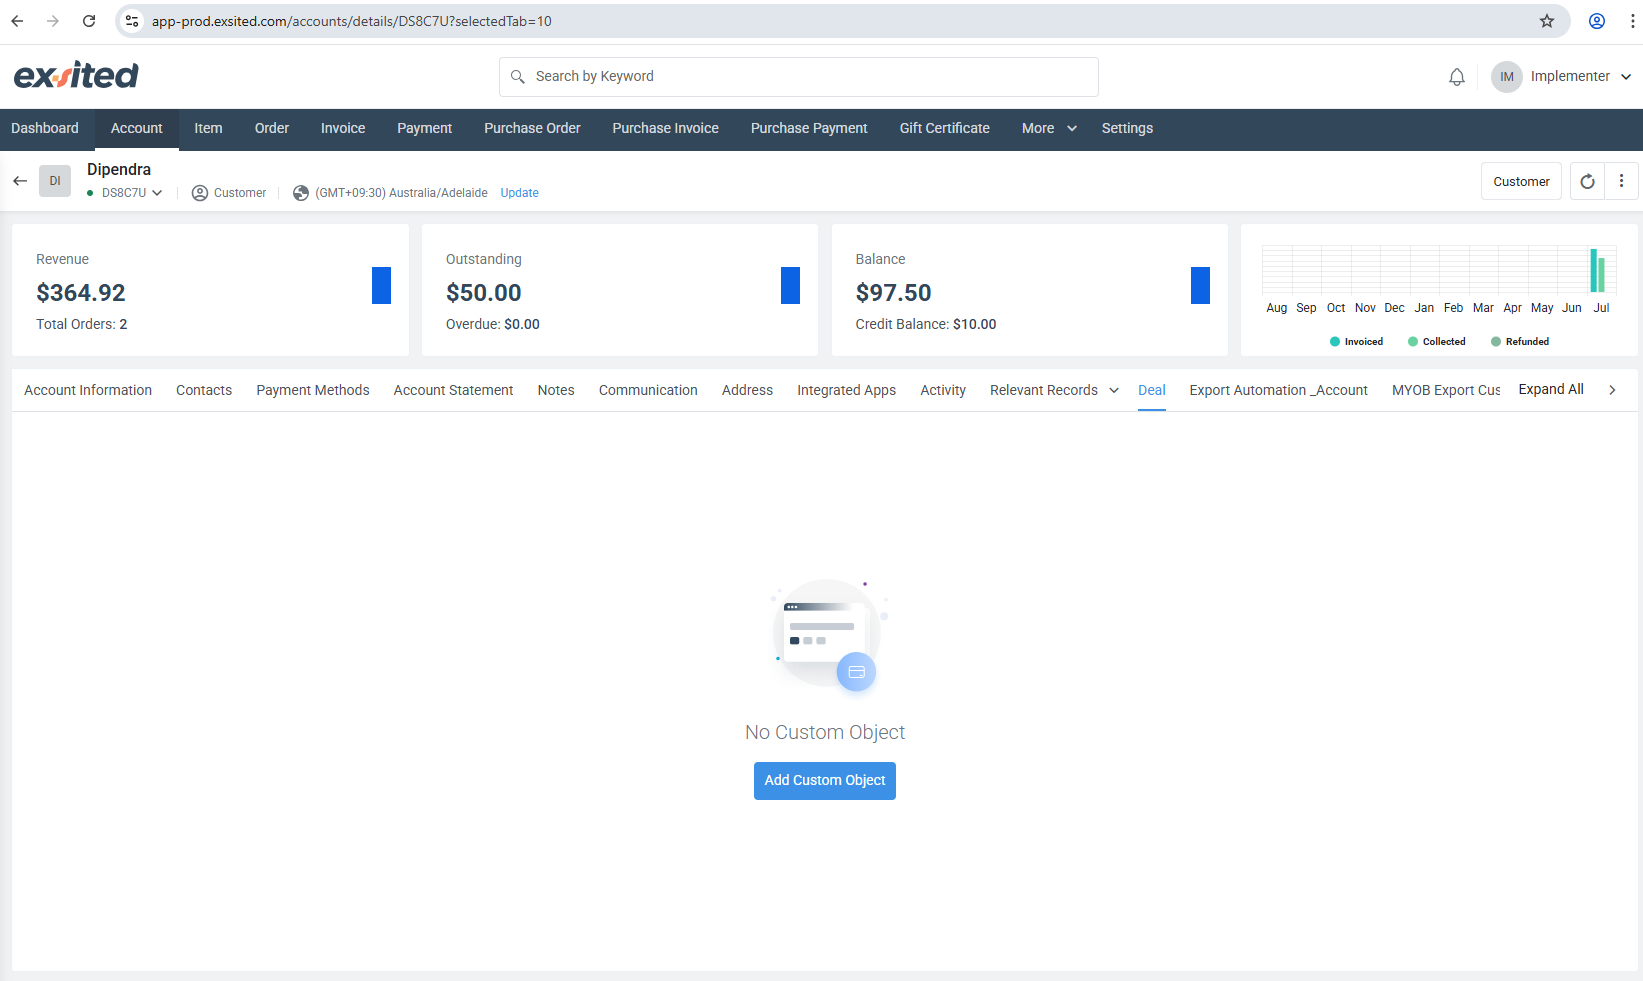
Deal
The Deal section allows users to manage and track custom objects or deals related to the customer account. This section provides a space to add and organise unique business-related items or contracts that do not fit into standard account records. Currently, no custom objects or deals have been added, and the interface offers an "Add Custom Object" button to input new entries. This functionality supports flexible customer management by enabling the documentation of special agreements, sales opportunities, or other personalised data relevant to the account.
Export Automation_Account
The Export Automation_Account section allows users to manage and configure custom objects related to automated data exports for the customer account. This area is designed to facilitate the setup of automated workflows that streamline the export of account-related information to external systems or services. Currently, no custom objects have been added, and the section offers an "Add Custom Object" button to create new automation configurations. This functionality supports efficient data integration and reduces manual effort in maintaining synchronised account information across platforms.

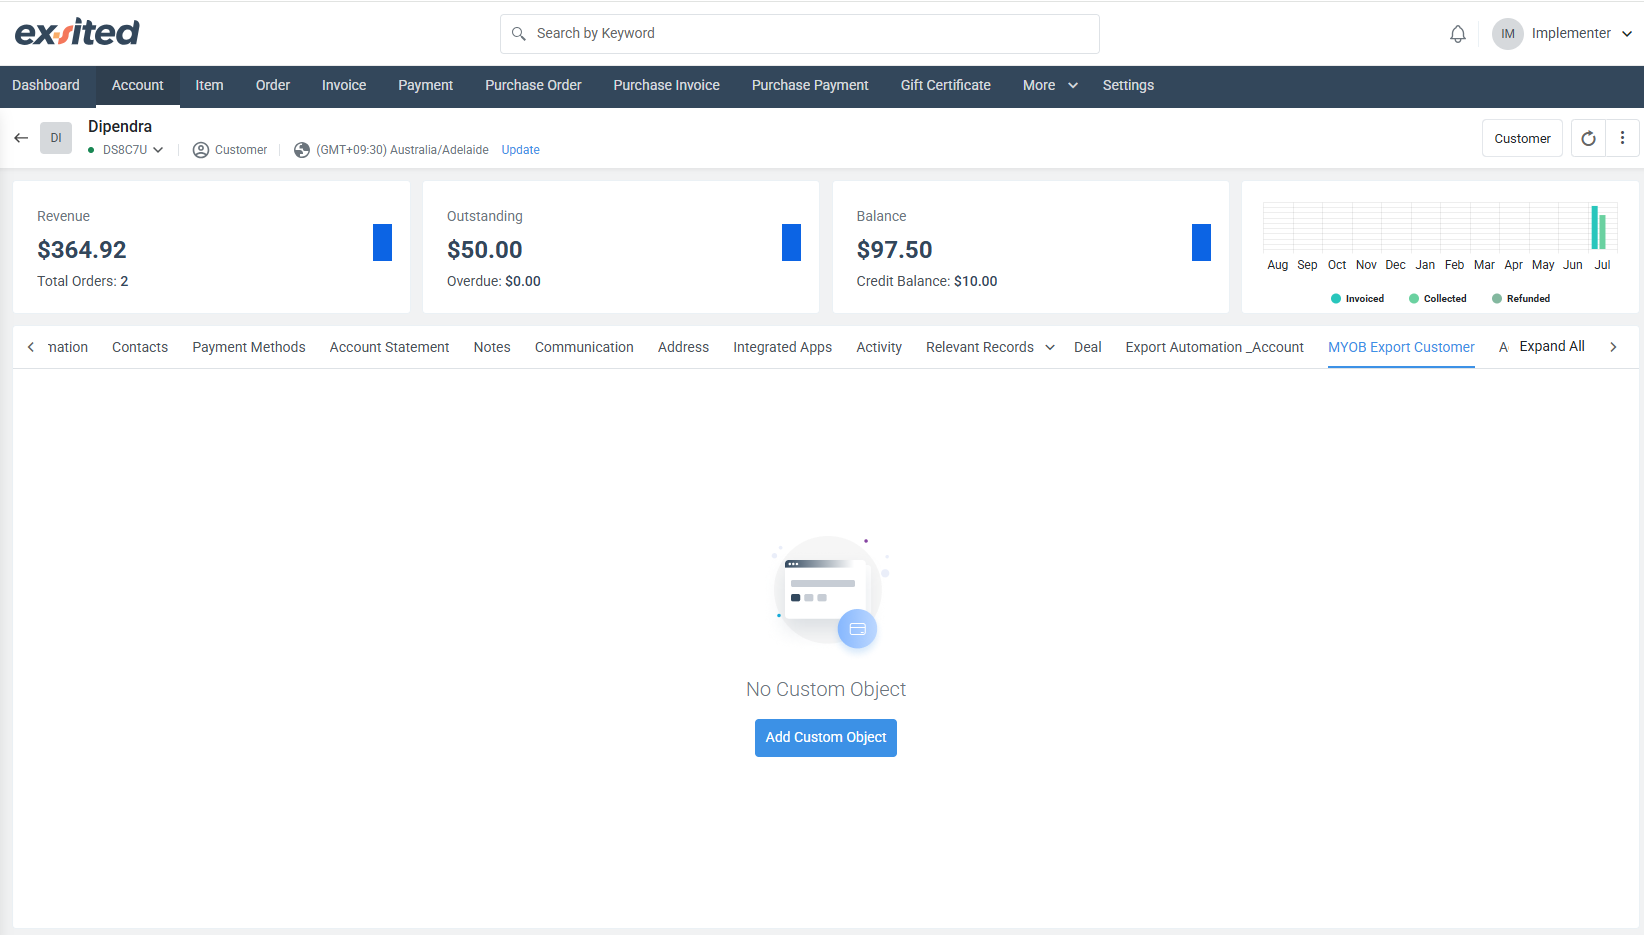
MYOB Export Customer
This section is dedicated to managing the export of customer data to MYOB accounting software. It provides users with the ability to create and manage custom objects for syncing customer account details, ensuring seamless data transfer between the Exsited platform and MYOB. Currently, no custom objects exist, and users are prompted with an "Add Custom Object" button to begin configuring automated exports. This integration helps streamline accounting workflows by automating customer data synchronisation.
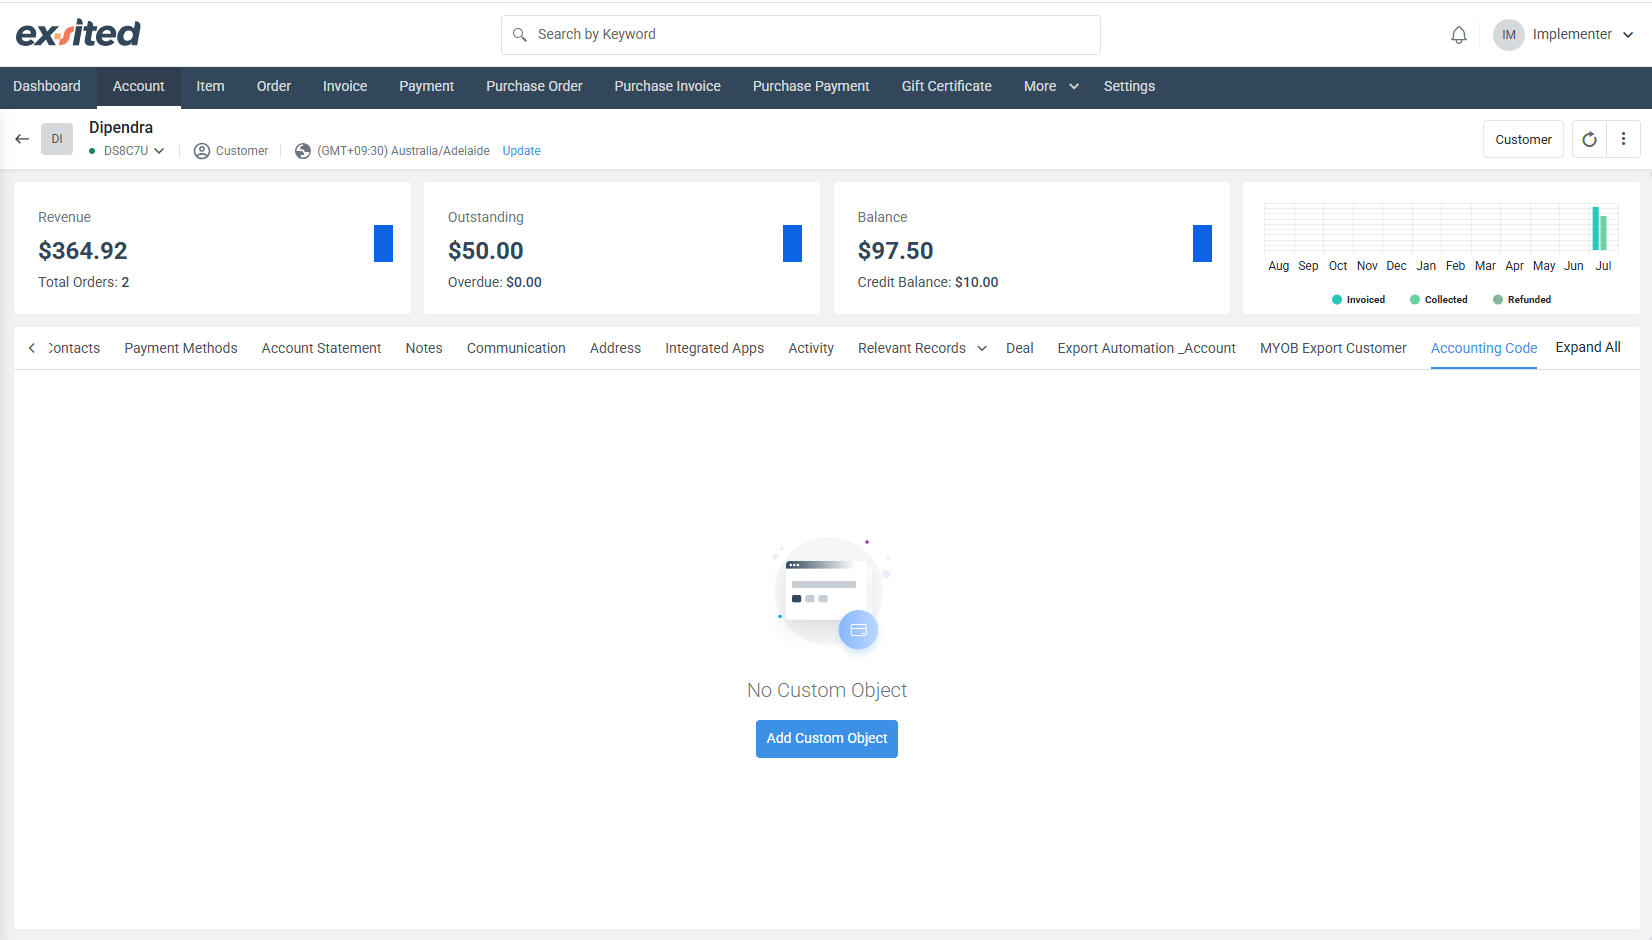
Accounting Code
This section allows users to manage custom accounting codes associated with the customer account. It provides a way to define and organise unique codes used for financial tracking, reporting, and integration with accounting systems. Currently, there are no custom objects defined in this section. Users can add new custom objects by clicking the "Add Custom Object" button, enabling tailored financial data management linked to the customer.
Notes
- Only Name and Accounting Code are mandatory.
- If you link this account with invoices, orders, or items, ensure the Accounting Code matches your accounting system (e.g., Xero, MYOB, QuickBooks).
- Avoid duplicate names across different regions to prevent sync conflicts.
- Use the Parent Account option when managing multi-location clients (e.g., ABC Store Melbourne under ABC Store HQ).