Payments Module Overview
The Payments Module in Exsited allows users to efficiently apply customer payments against invoices using various payment methods. It ensures accurate financial recording, supports multiple payment types, and provides clear visibility into outstanding balances and applied transactions.
Key Features
| Feature | Description |
|---|---|
| Invoice Linking | Link one or multiple invoices to a single payment. |
| Multiple Payment Methods | Supports Bank Deposit, Cash, Cheque, Credit, and Gift Certificate options. |
| Partial or Full Payments | Allows applying partial or full amounts. |
| Payment Notes | Add internal remarks or reference numbers for audit tracking. |
| Effective Date Handling | Set a custom effective date or mark as effective immediately. |
| Auto ID Generation | Payment ID is automatically generated by the system. |
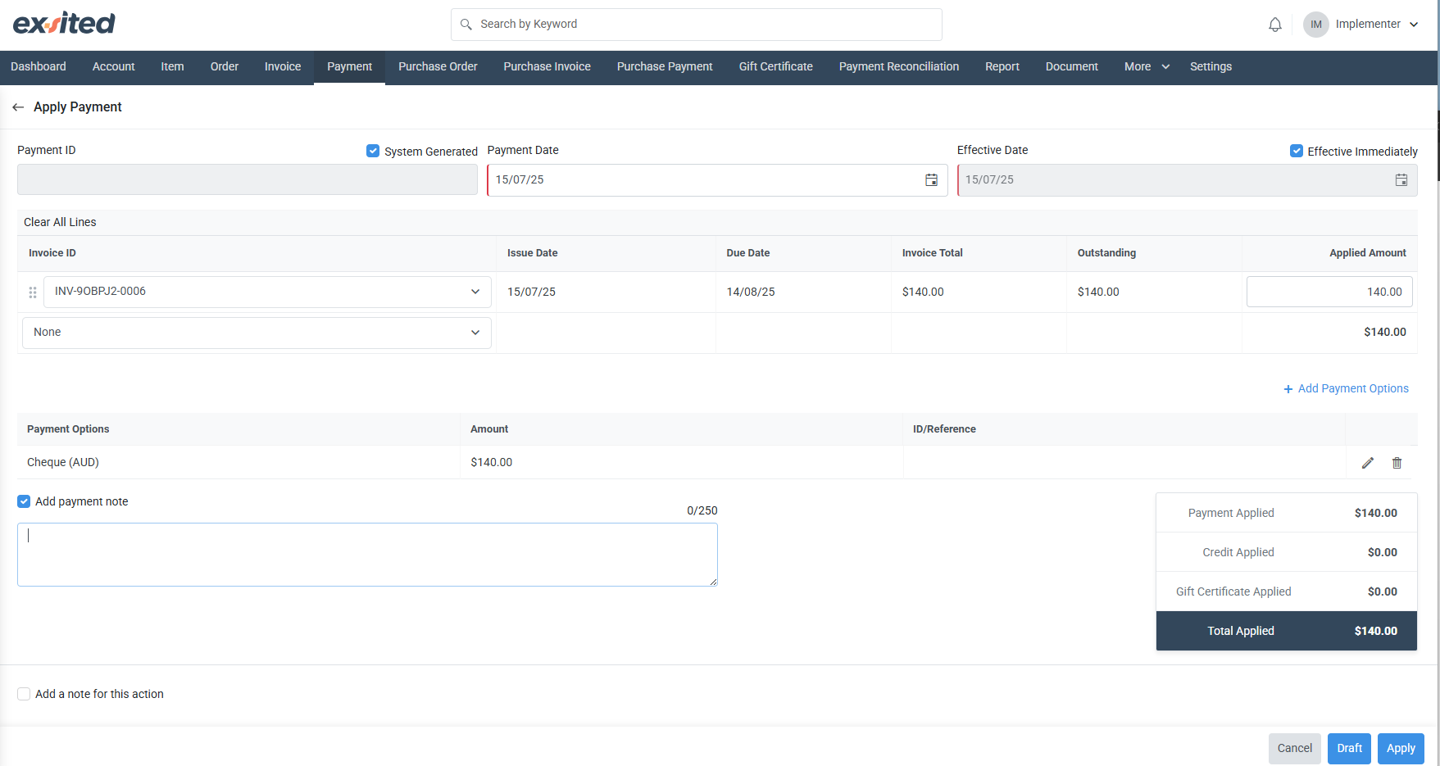
Step-by-Step: Apply Payment
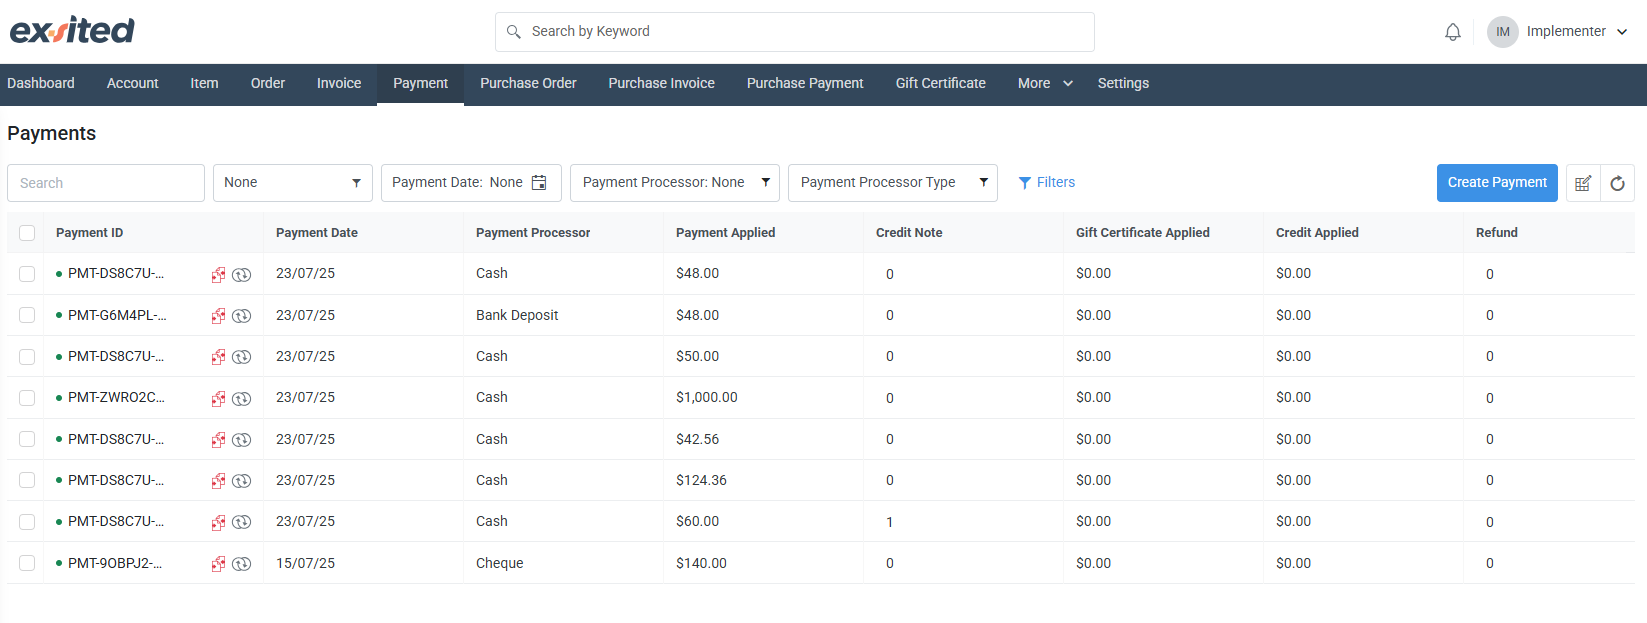
1. Access payments screen by navigating to the Payments tab.
In the Payment List View → Create Payment
2. Select Invoice
- Choose the Invoice ID from the dropdown.
- The system will display:
- Issue Date
- Due Date
- Invoice Total
- Outstanding Amount
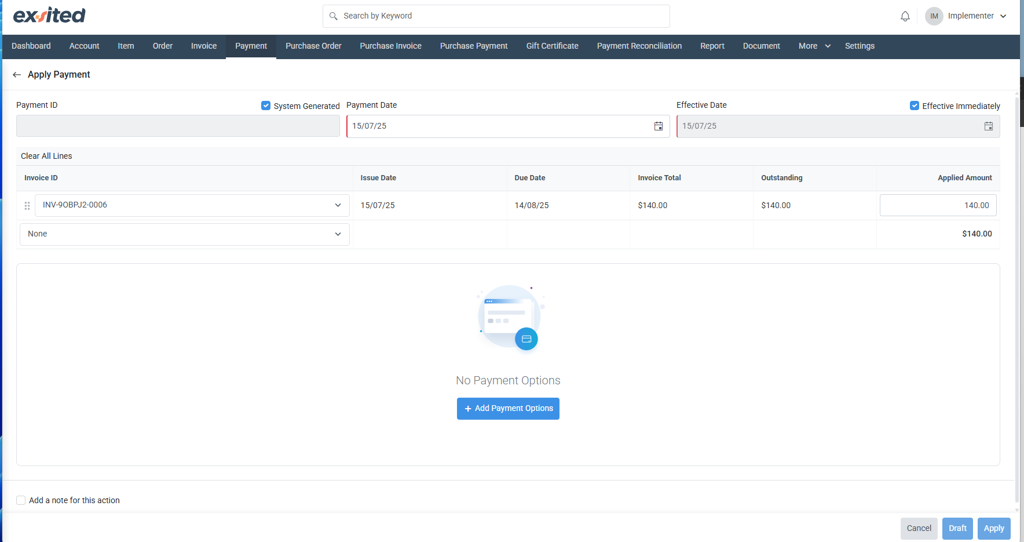
3. Enter Payment Details
- Applied Amount: Enter the amount to be paid.
- Dates:
- Payment Date: Defaults to today.
- Effective Date: Can be changed or marked as "Effective Immediately".
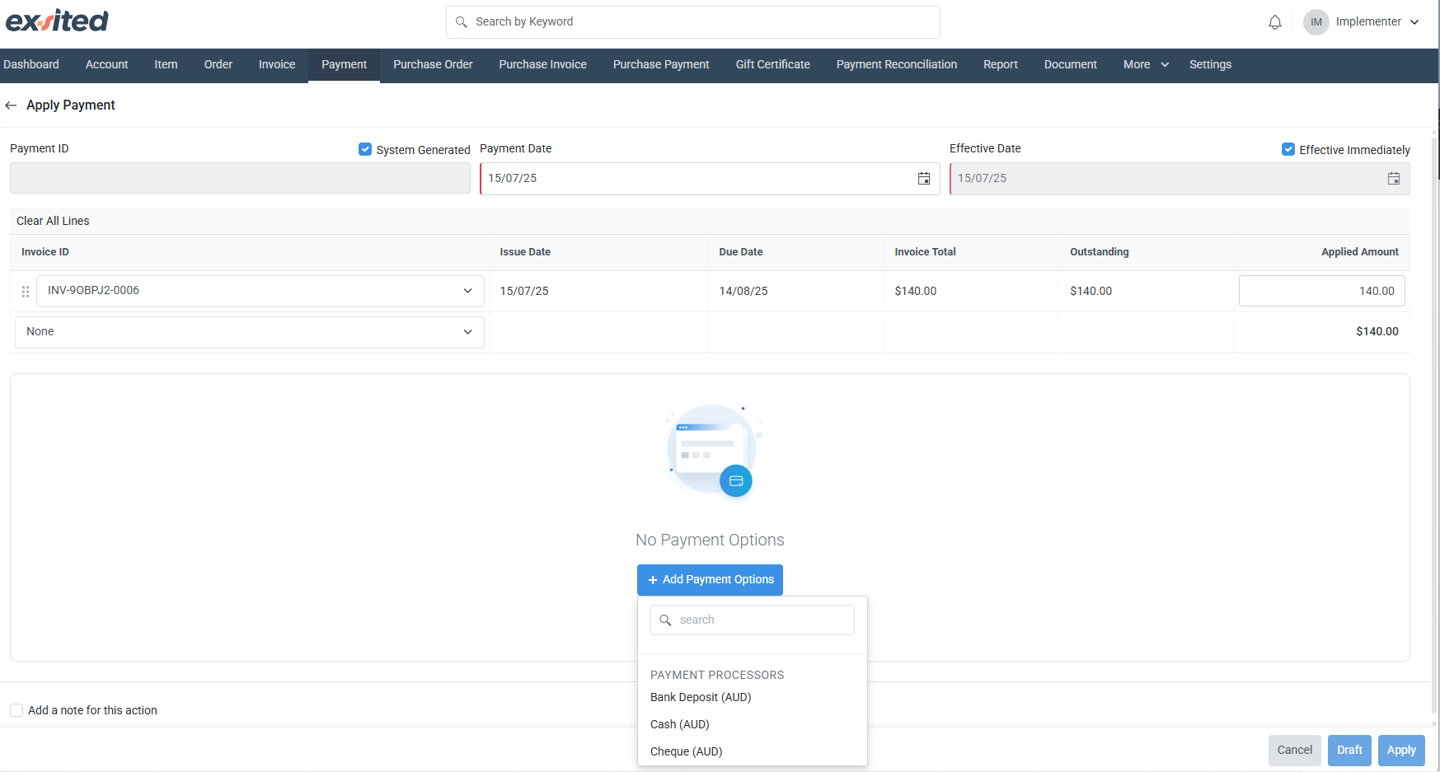
4. Add Payment Option
- Click on + Add Payment Options.
- Choose a method:
- Bank Deposit (AUD)
- Cash (AUD)
- Cheque (AUD)
- Enter:
- Payment Amount
- Payment Reference (e.g., cheque number, transaction ID)
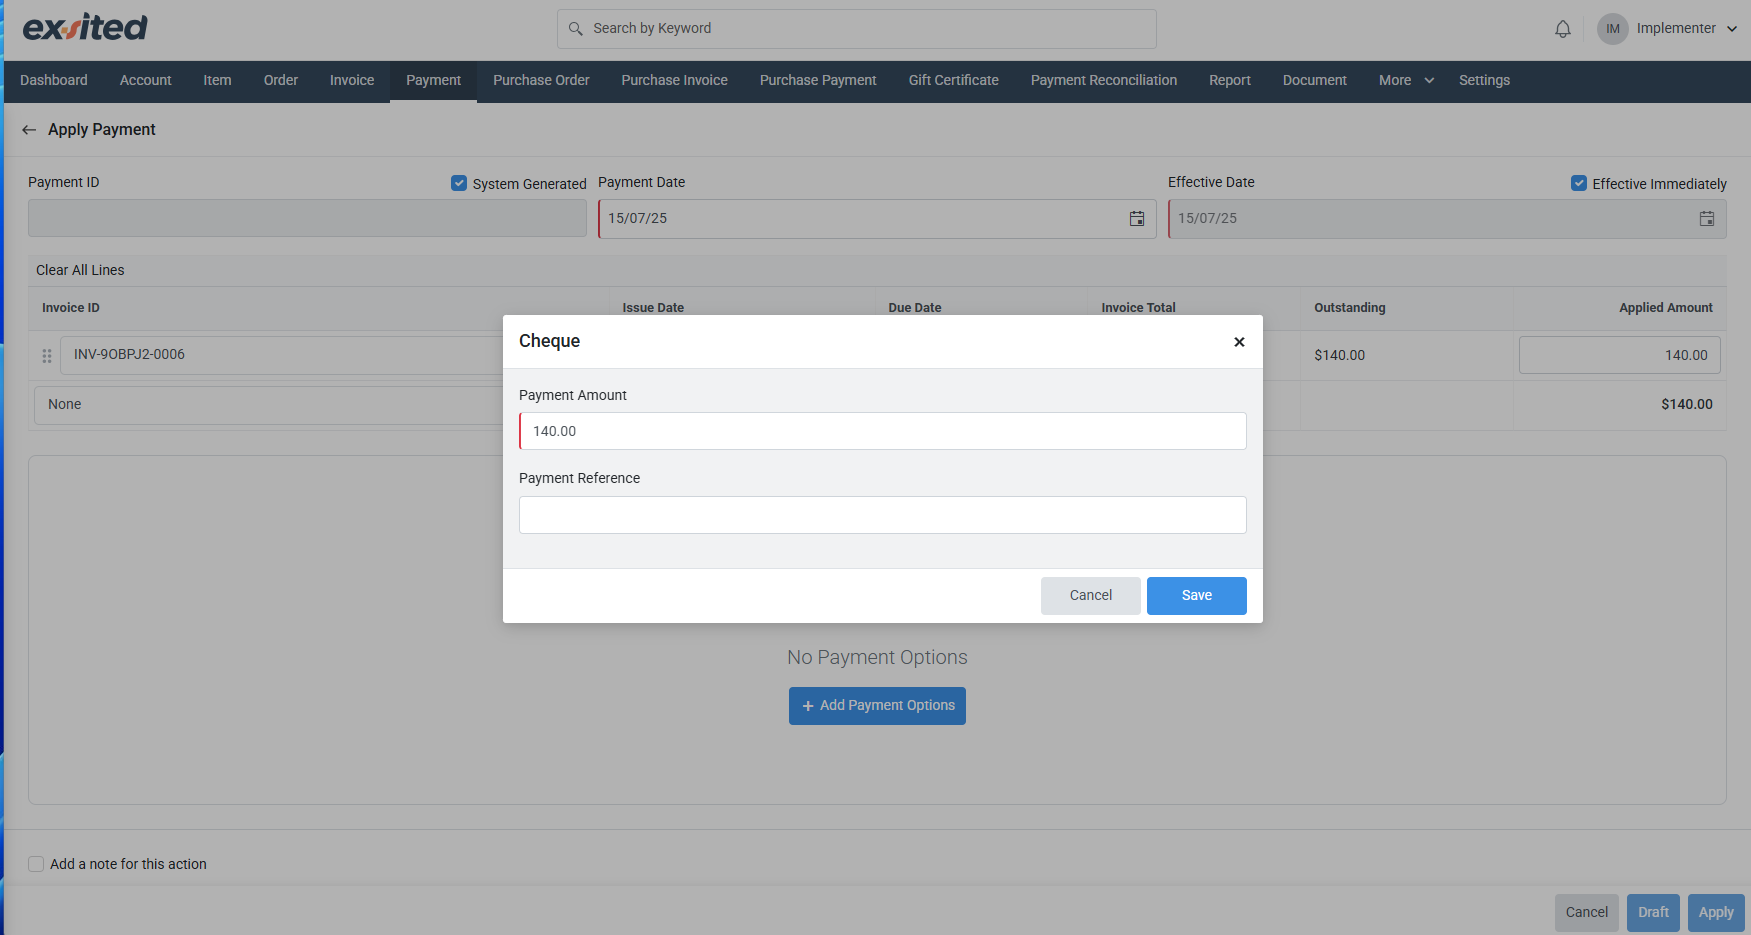
5. Finalise
- (Optional) Add a Payment Note for internal records.
- Click Apply to complete the transaction.
Payment Confirmation Screen
Once applied:
- A green success message appears: "Payment has been applied successfully"
- You will be redirected to the Payment Summary Page, showing:
- Payment ID (e.g., PMT-XXXX)
- Linked Invoice(s)
- Payment Method(s)
- Amount Paid
- Date of Payment
- Status (Active)
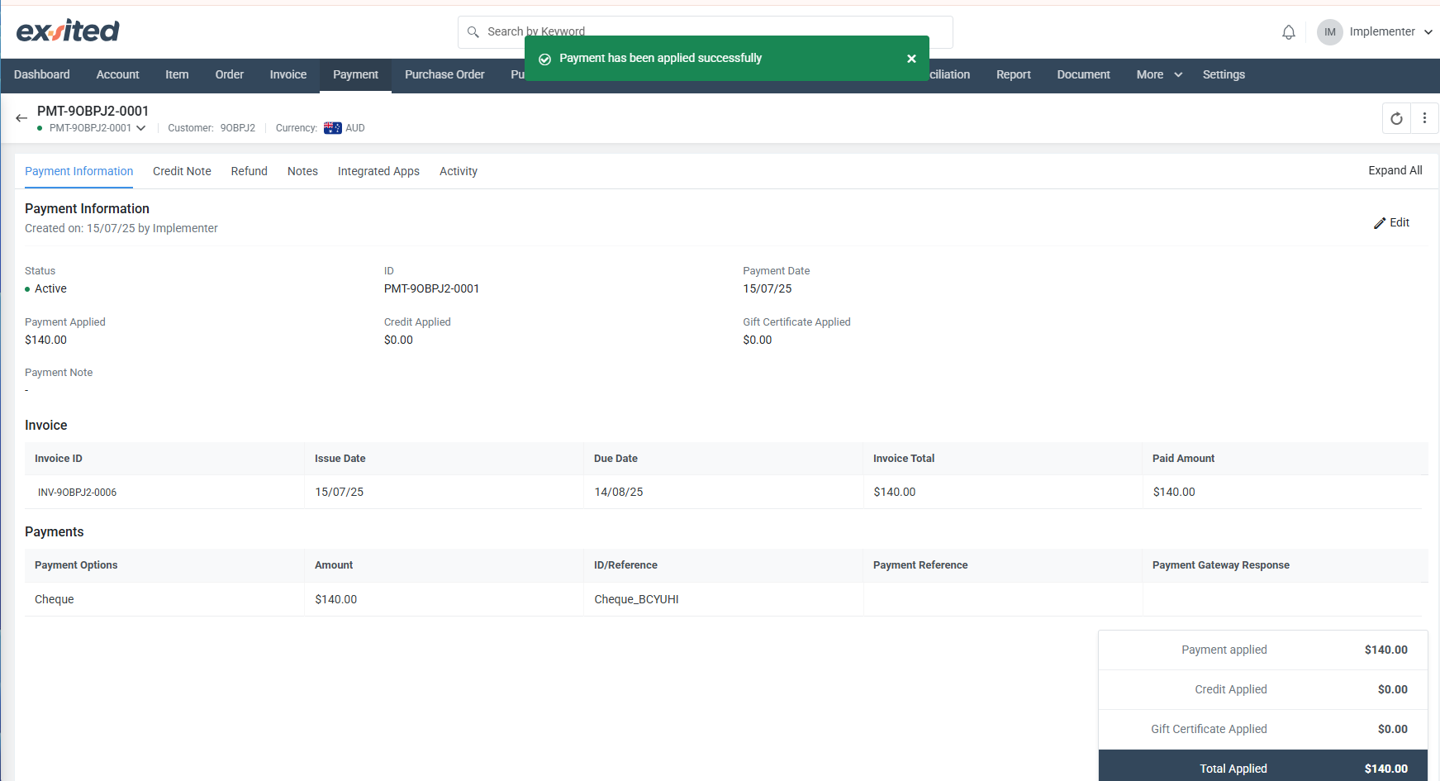
Example:
| Field | Value |
|---|---|
| Invoice ID | INV-90BPJ2-0006 |
| Payment Method | Cheque (AUD) |
| Applied Amount | $140.00 |
| Payment Reference | Cheque_BCYUHI |
| Status | Active |
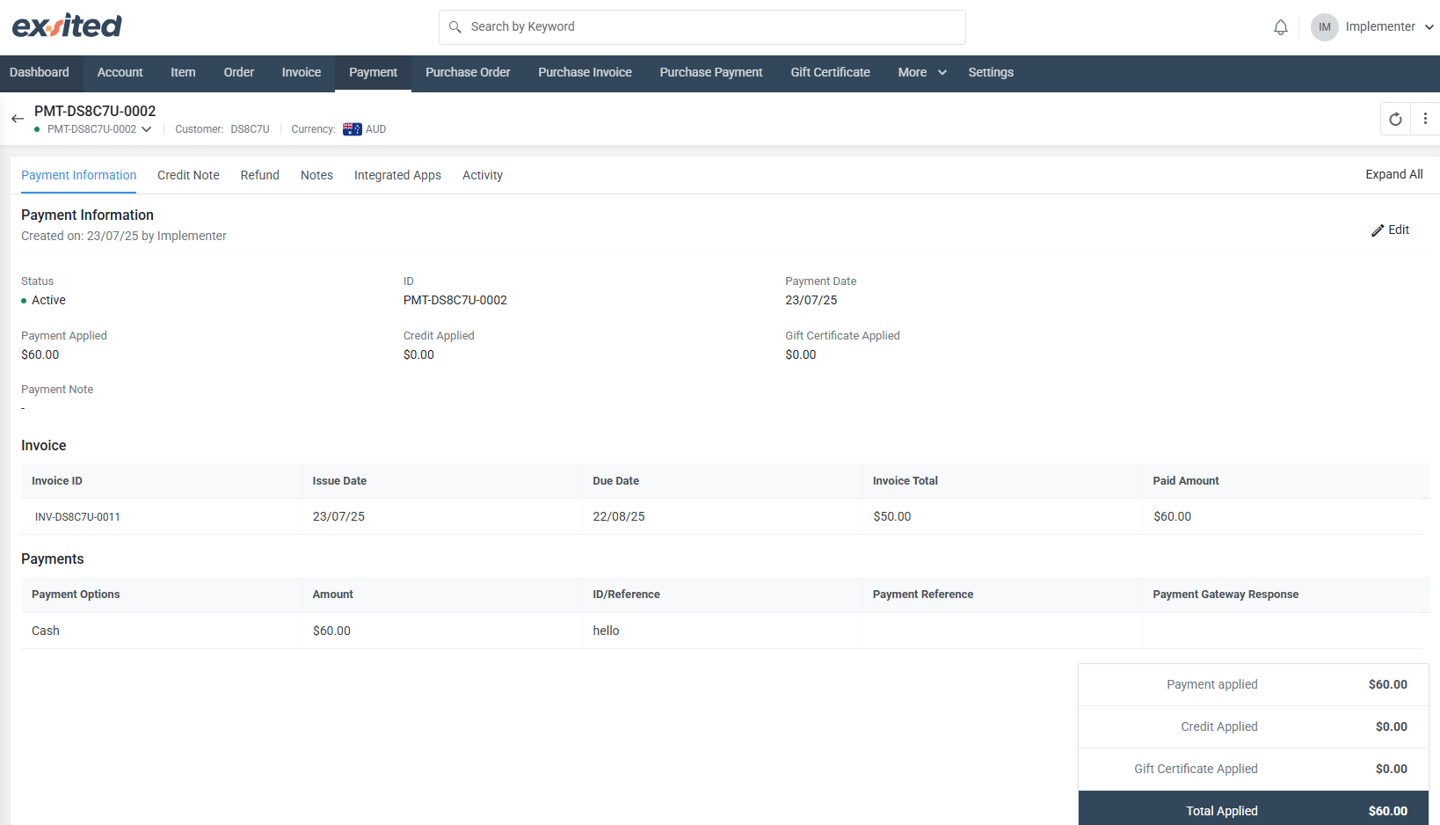
View Payment Details
In the Payment List View → Select Payment
Payment Information
This section displays the details of the payment made for the invoice. It includes information such as the payment status, the payment amount applied, and the date of payment. The invoice linked to the payment is shown along with the total amount due and the payment method used (e.g., cash). This section helps track the payment history and ensures the payment is properly associated with the correct invoice.
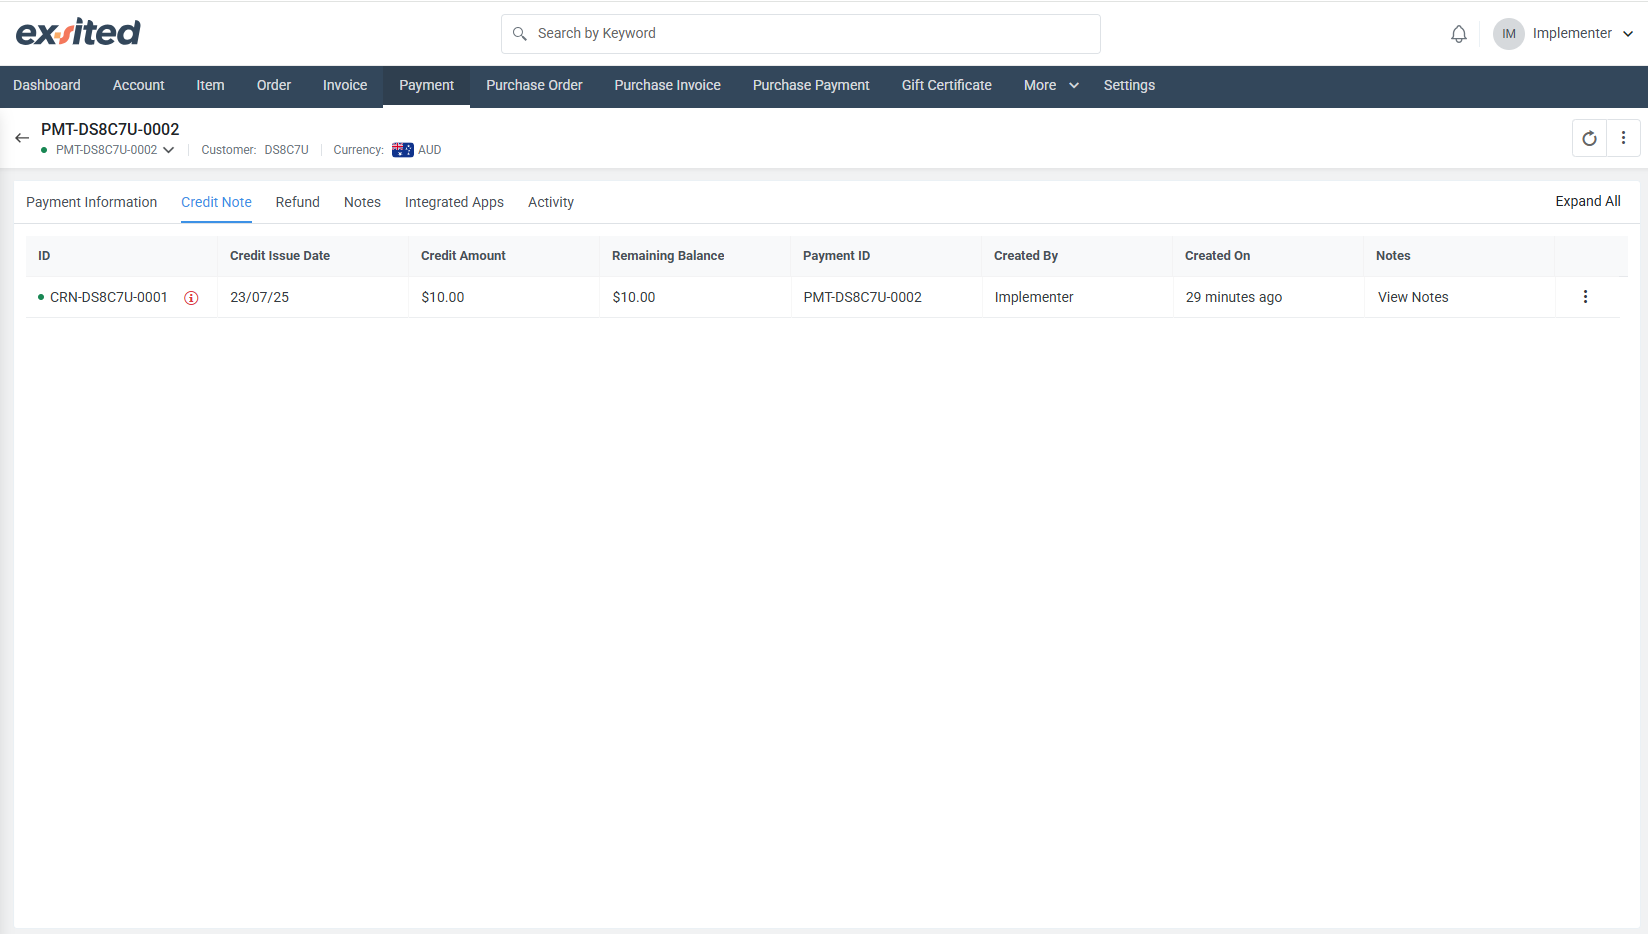
Credit Note Information
This section provides details on any credit notes issued for the payment, including the credit amount, issue date, and remaining balance. It also lists the associated payment ID, the creator of the credit note, and the creation date. Credit notes are typically issued to reduce the amount payable for an invoice due to returns, errors, or adjustments. This section helps to keep track of credits applied to the payment, ensuring that balances are accurately updated.
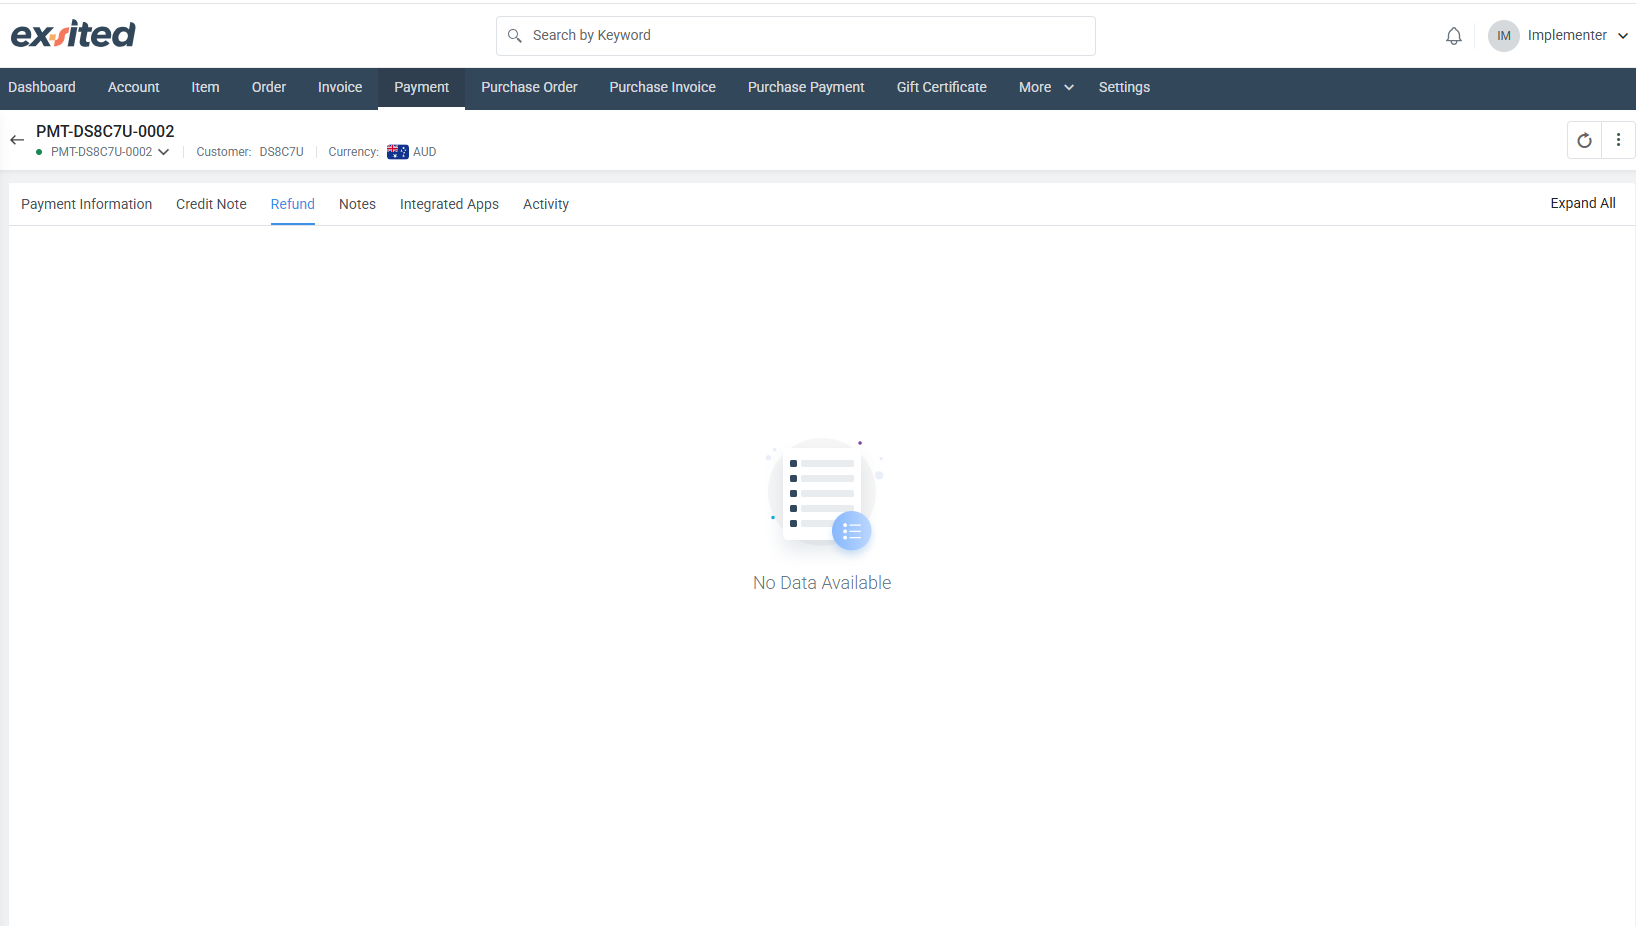
Refund Information
This section provides details related to any refund transactions associated with the payment. It shows the credit note and refund details such as the refund amount, status, and the date when the refund was issued. If no refund has been applied, this section will display "No Data Available." Refunds are issued in cases where customers return products or are otherwise entitled to money back. This section helps track and manage refunds for better financial accuracy and reporting.
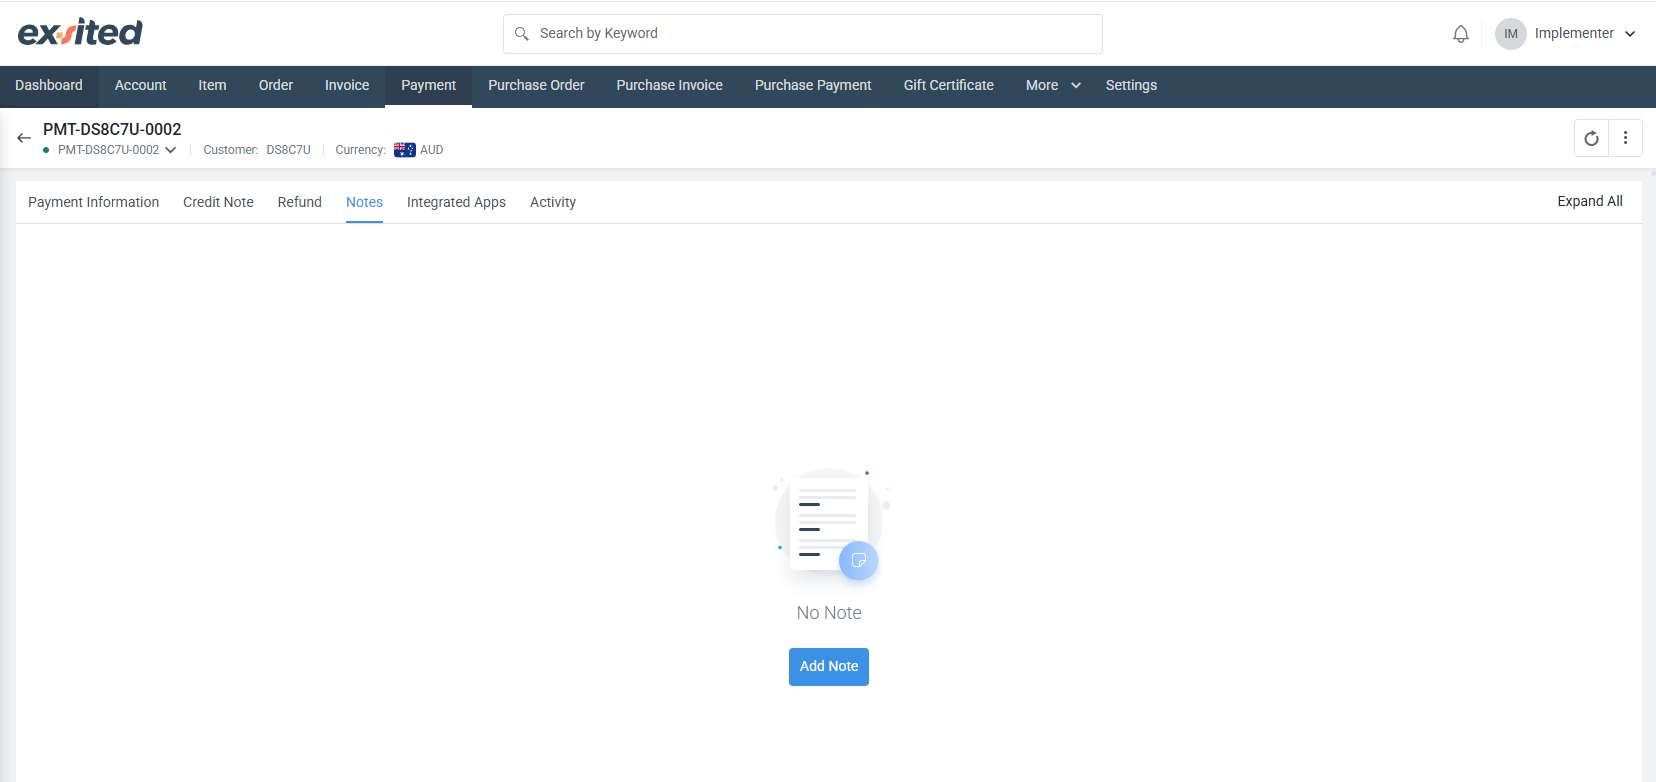
Notes
This section allows you to add or view any notes related to the payment. Notes can be used to document important details, such as special payment instructions, reminders, or internal notes related to the transaction. If no notes have been added, this section will display "No Note." You can easily add a note by clicking the "Add Note" button. It provides a simple way to keep track of any additional information or communication relevant to the payment.
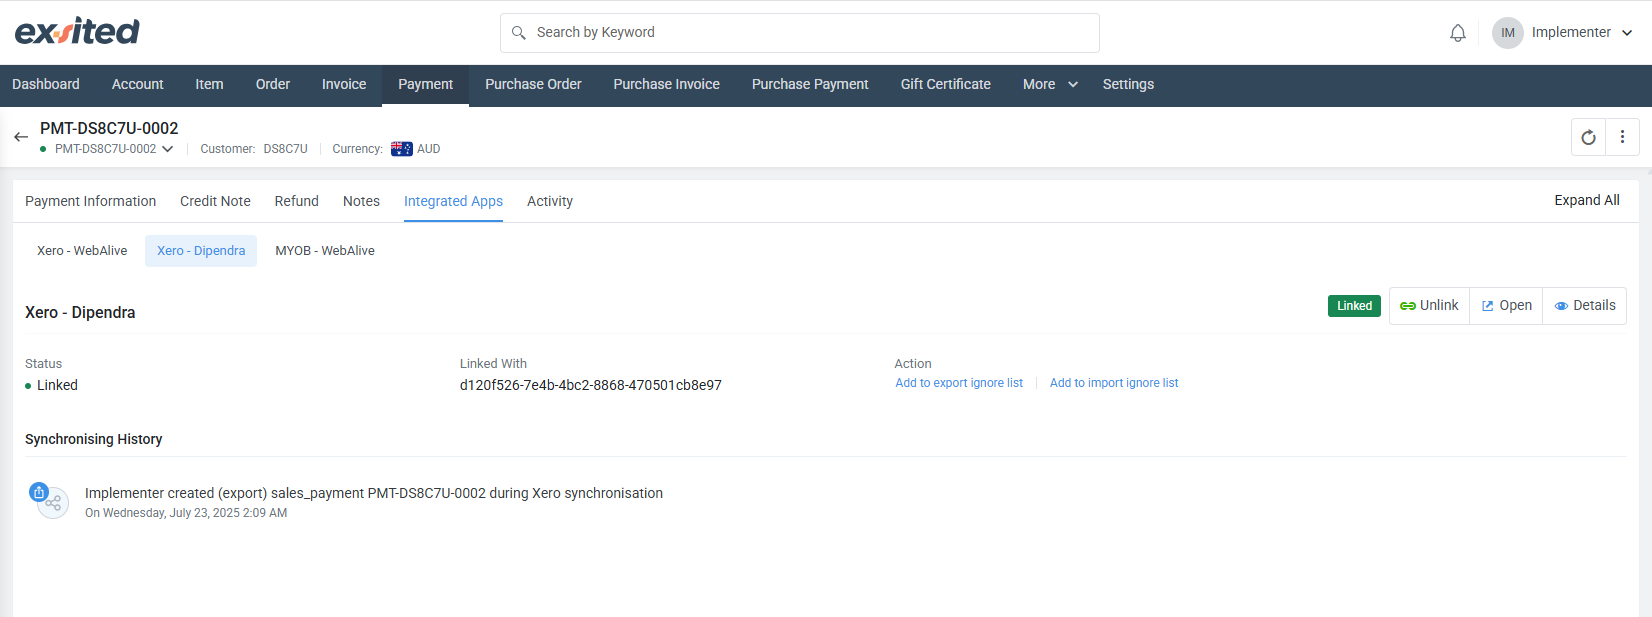
Integrated Apps
This section displays any integrations associated with the payment. It shows the linked apps and their status (e.g., Linked or Unlinked). The Synchronising History section provides logs of any actions taken, such as syncing the payment with integrated apps like Xero or MYOB. If there are any linked records, you will see an option to unlink or open the details of the linked app. This helps track the integration activity and connection status between external applications and the payment data in the system.
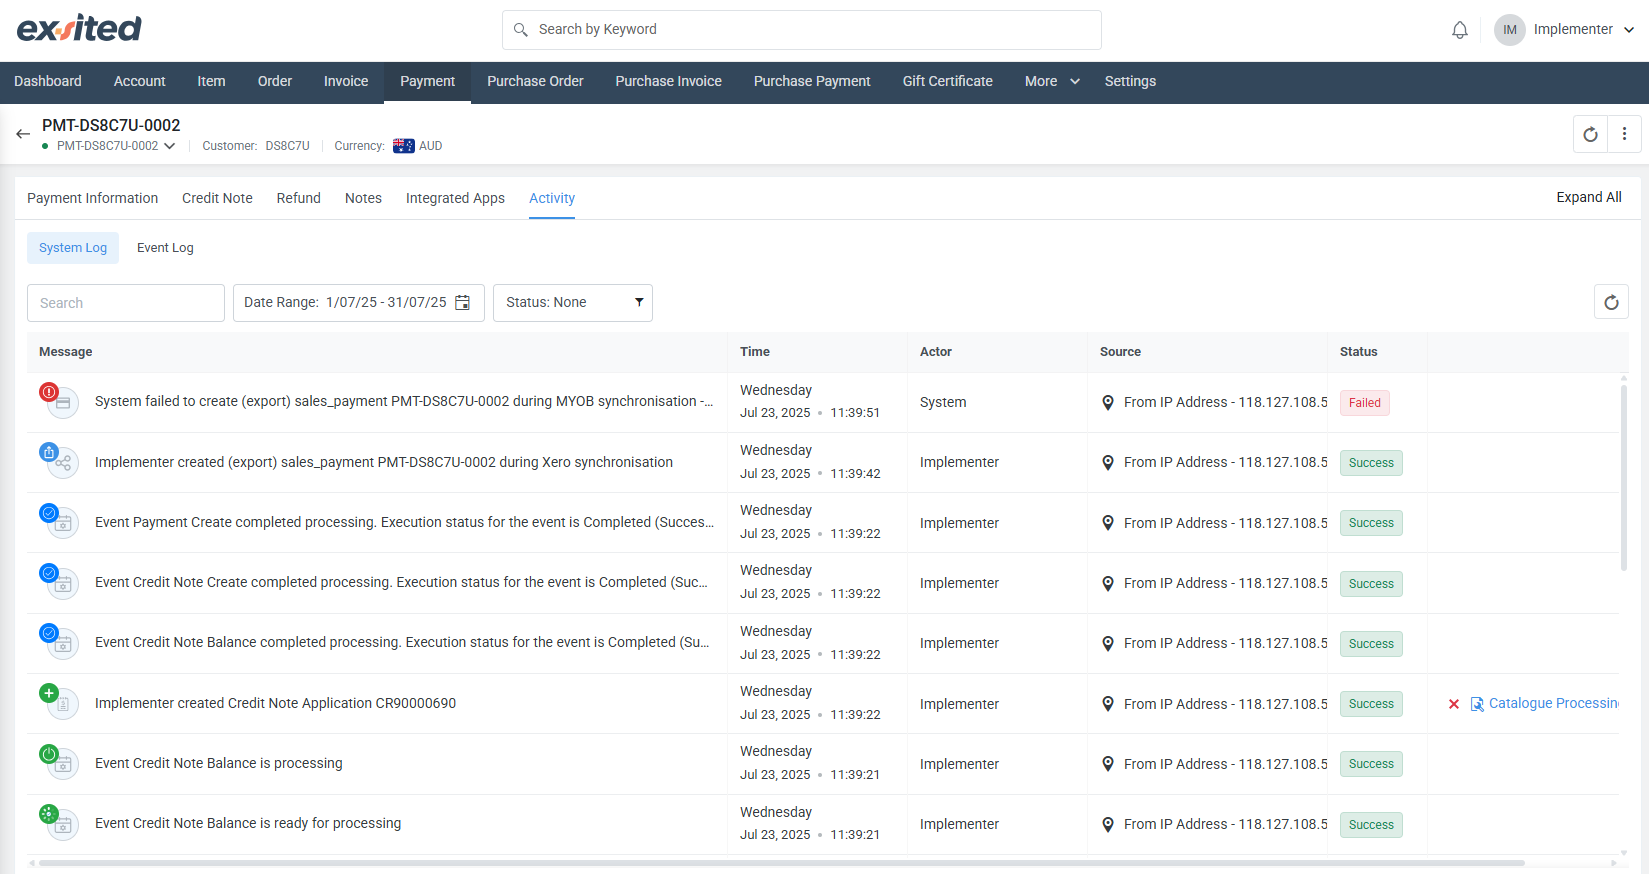
Activity Log
This section displays the event log for the selected payment. It includes messages detailing various actions taken, such as the creation of payment records, synchronisation events, and any issues or successes encountered. The log includes the time of the event, the actor (person or system), the source of the action, and the status (e.g., Success or Failed). It allows users to track the progress of different activities related to the payment, monitor any system issues, and review the status of each action performed.
Best Practices
- Always confirm the invoice ID before applying payment.
- Use payment notes to track external reference numbers.
- Ensure effective dates are aligned with financial reporting periods.