Custom Form Configuration Overview
This guide provides a step-by-step explanation for creating and managing Custom Forms in Exsited. It demonstrates how to set up, customise, and apply forms within modules such as Sale Invoice, Purchase Order, Account, and more.
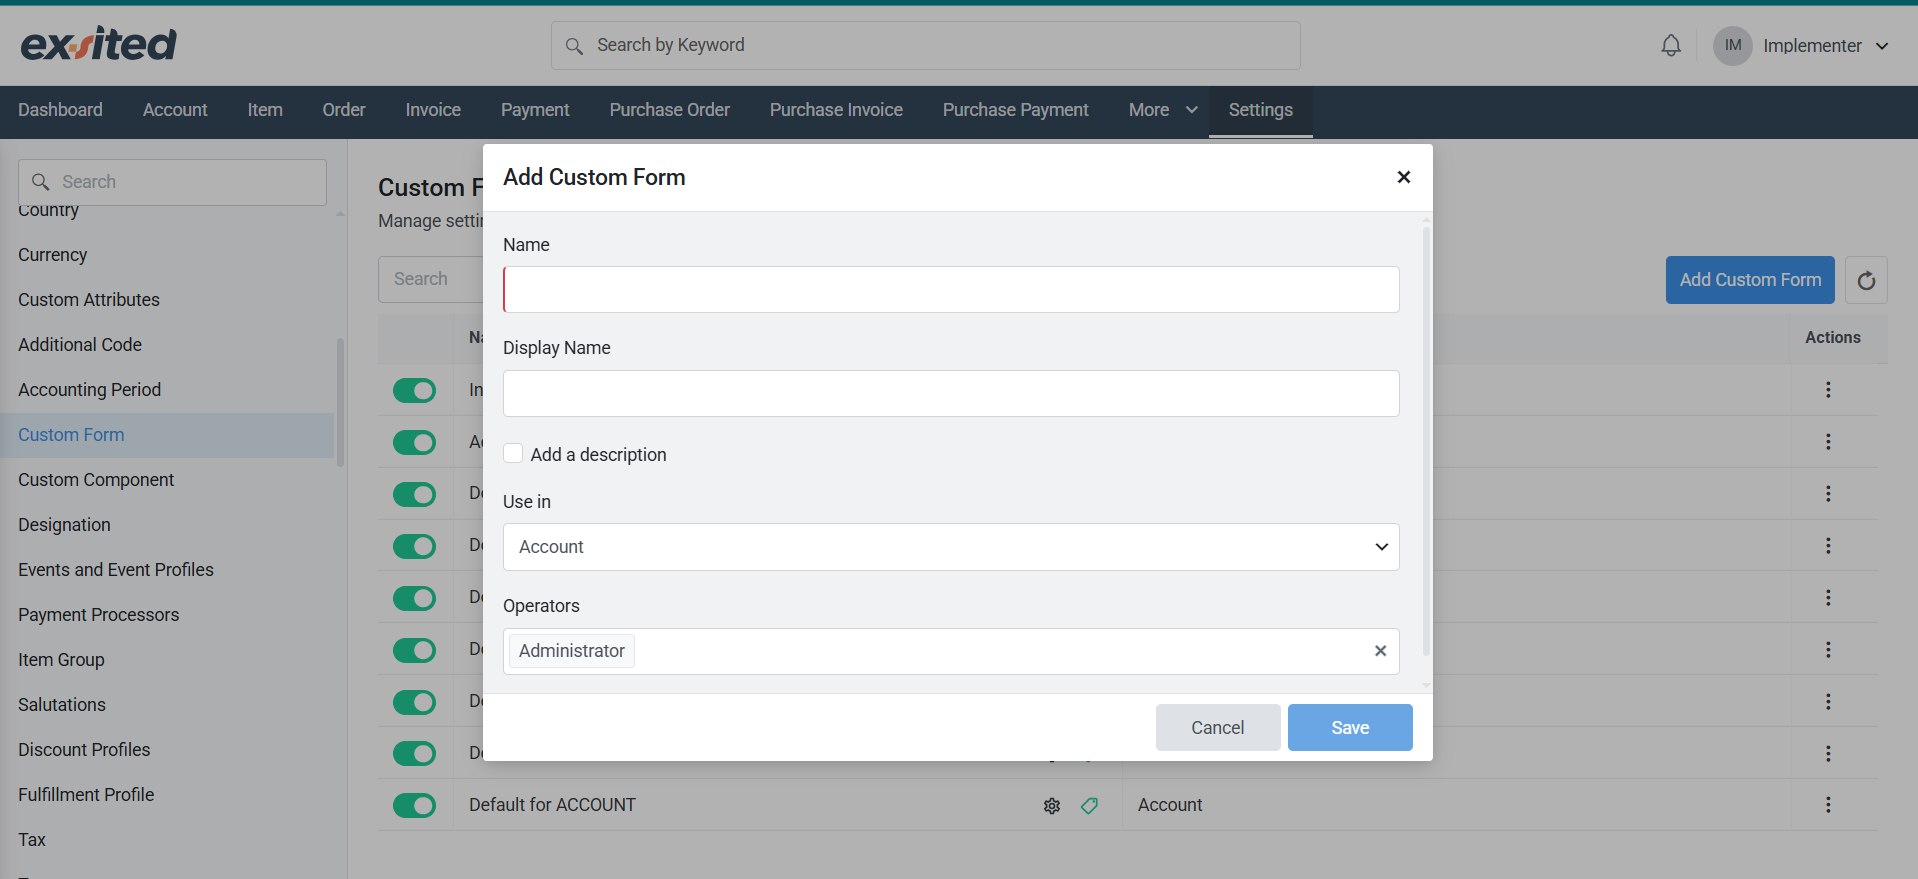
Add Custom Form Popup
Where to find it:
- Navigate to: Settings > Custom Form
- Click Add Custom Form
Field Descriptions:
- Name: This is the internal system reference for the form (e.g. Invoice Form 1).
- Display Name: The name shown to users when selecting a form (e.g. Invoice Form 1).
- Add a Description (optional): Tick this if you wish to add a description for clarity or internal use.
- Use in: Select the module where the form will be applied (e.g. Sale Invoice).
- Operators: Define who can use or edit the form. Here, it’s set to Administrator.
Click Save to create the form.
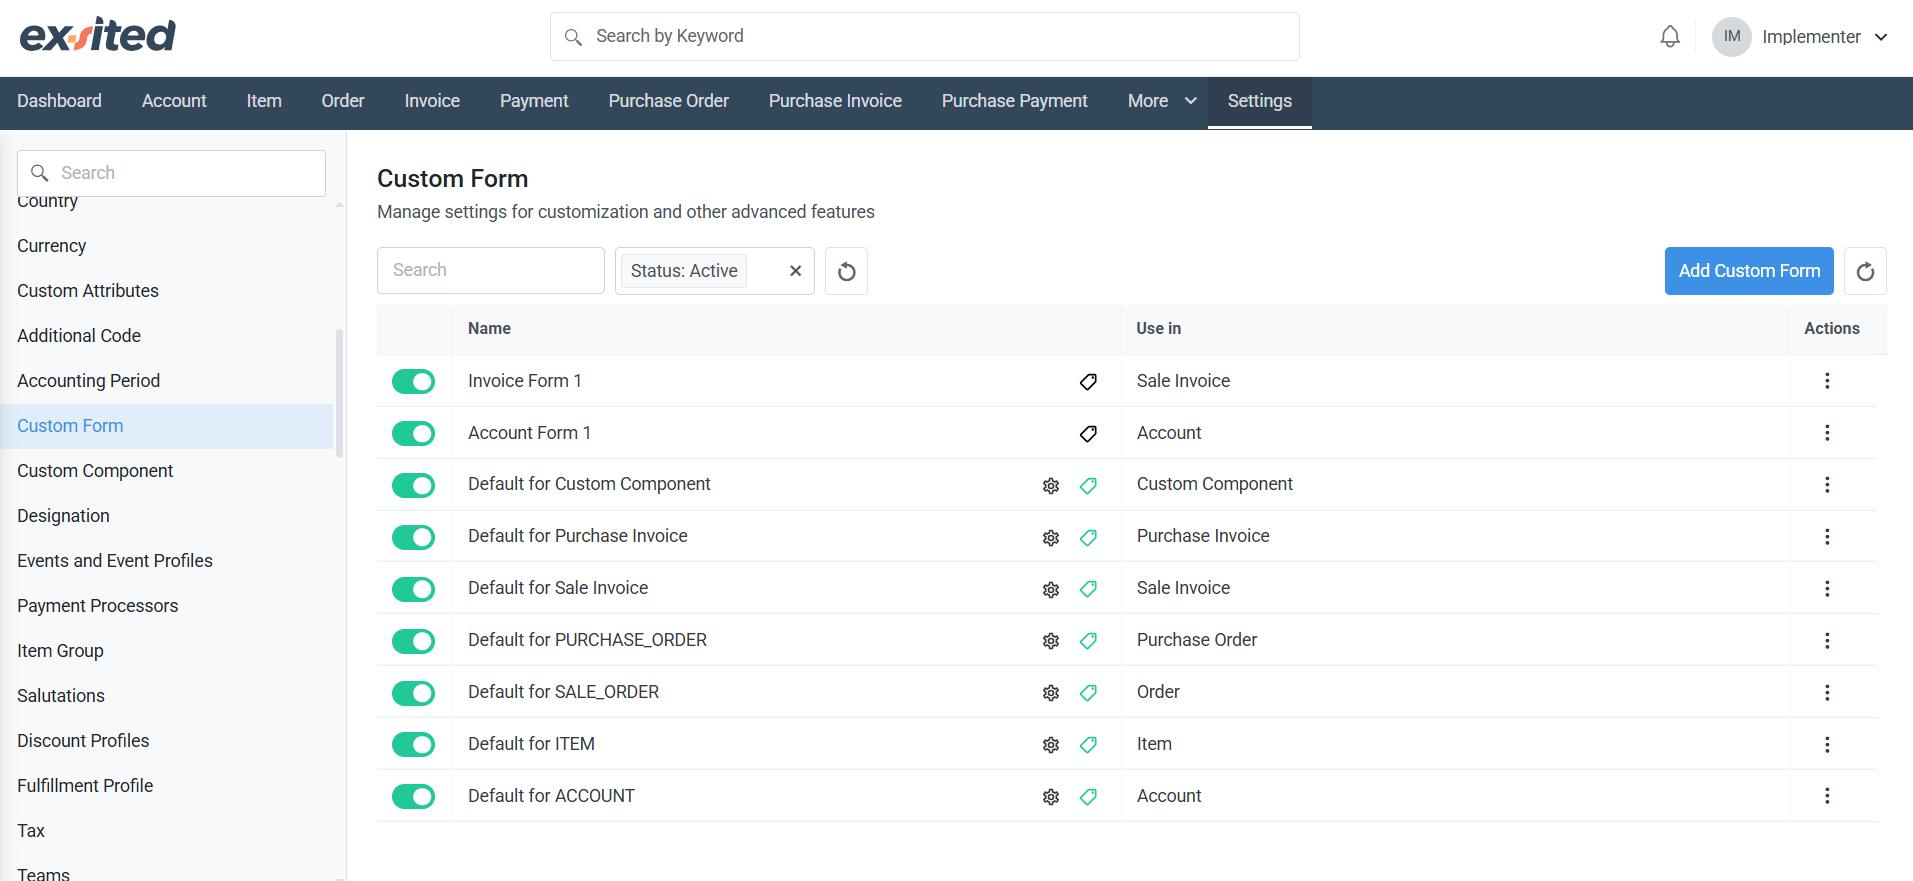
Custom Form Management Page
Overview:
This page displays all created custom forms and their respective modules.
Features:
- Form List: View all forms and the modules they’re used in (e.g. Sale Invoice, Purchase Invoice).
- Toggle Switch: Activate or deactivate a form as the default for a particular module.
- Actions Menu (⋮):
- Edit: Modify the form’s name or usage module.
- Delete: Permanently remove the form.
- Customise: Open the form editor to configure the layout and included fields.
Ensure only one form is set as default per module to avoid configuration conflicts.

Custom Form Builder / Layout Editor
Purpose:
This is where you design the layout of your custom form – used for invoices or other transaction records.
Navigate to: Custom Form > Action > Customise
Key Layout Sections:
- Main Fields (Right Panel):
- Standard fields like Account, Invoice ID, Currency, Issue Date, Due Date, and Customer Purchase Order ID are displayed.
- Some fields are system-locked (read-only).
- Tick boxes for Add invoice note and Price is inclusive of tax offer further control.
- Custom Attributes (Left Panel):
- Table Attributes: Custom field references such as References Testing 123.
- Additional Code: Includes fields like Accounting Code.
- Item Attributes and [Order.Item] Attributes: Enable field-level control for products or items listed in transactions.
Simply drag and drop required fields into the layout area to build the form structure.
.png)
Apply Custom Form When Creating a Sale Invoice
Accessing It:
Go to: Invoice > Create Invoice
Key Form Elements:
- Form Selection: A dropdown at the top-right allows switching between Default for Sale Invoice and the custom Invoice Form 1.
- Invoice Header Fields:
- Include customer name, auto-generated invoice ID, currency, issue/due date, PO reference, and more.
- Reference Fields:
- Fields like References Testing 123 are shown – these were added during form customisation.
- Item Table:
- Columns: Item, ID, QTY, Serial/Batch Number, Price, Discount, Sub Total, Tax.
- Additional Details Section:
- Includes Accounting Code, QTY, Unit Price, and other fields for advanced breakdown.
Bottom buttons:
- Cancel: Exit without saving.
- Draft: Save the invoice without finalising.
- Create: Generate the final invoice.
Summary
Using Custom Forms in Exsited allows organisations to tailor transaction forms to suit operational needs and compliance standards. Each form can be assigned to a specific process, include custom attributes, and provide user-level control. This flexibility improves efficiency, reporting accuracy, and branding consistency.